Ever missed a crucial detail during a fast-paced Microsoft Teams meeting? Don't worry! Learning how to record a Microsoft Teams meeting is your ticket to capturing every insight, action item, and brilliant idea. Whether you're an organizer, participant, or just dipping your toes into remote work, this guide delivers straightforward steps with the latest Teams features. Say goodbye to frantic note-taking and hello to professional recordings that boost productivity. 🚀
✅ Prerequisites: Before You Hit Record
To successfully record a Microsoft Teams meeting, ensure these essentials are in place:
- Admin Permissions: Your organization's IT admin must enable cloud recording in the Teams admin center. Check via Microsoft Support.
- License Check: Requires Microsoft 365 E1, E3, E5, Business Premium, or similar. Free users can't initiate but can view if allowed.
- Storage Space: Recordings save to OneDrive (organizers) or SharePoint (channels), so confirm quota.
- Consent Awareness: Participants get notifications; respect privacy laws like GDPR.
| User Role |
Can Start Recording? |
Notes |
| Organizer |
Yes |
Full control; auto-saves to OneDrive. |
| Participant (Licensed) |
✅ If policy allows |
Needs presenter permission in some setups. |
| Guest/Free User |
❌ No |
Can view shared recordings only. |
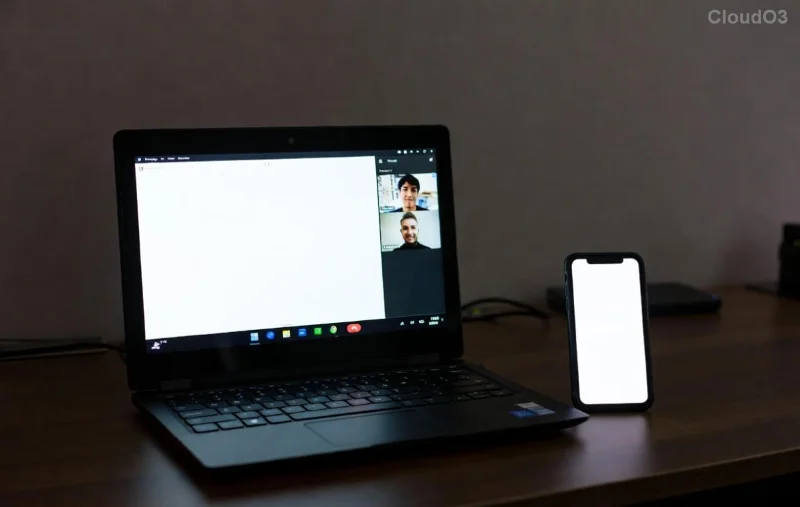
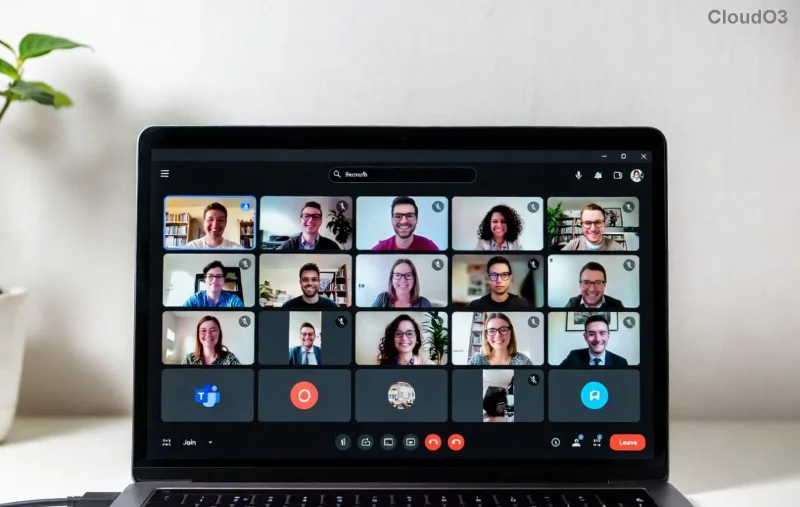
📹 Step-by-Step: How to Record as Meeting Organizer (Desktop App)
Most users rely on the Teams desktop app for seamless Teams meeting recording. Follow these steps:
- Join or Start the Meeting: Launch Teams, go to Calendar, and select your scheduled meeting or click "New meeting."
- Click More Actions (three dots ⋯) in the meeting toolbar.
- Select "Start recording". A notification alerts all participants—thumbs up! 👍
- Control Recording: Pause/resume via ⋯ > "Pause recording." Stop anytime; it ends automatically when the meeting closes.
- Access Post-Meeting: Find in OneDrive > Recordings folder. Share via link for easy collaboration.
![Step-by-step screenshot of starting Teams meeting recording]()
Pro Tip: Enable automatic transcription in settings for searchable text—game-changer for reviews!
🌐 Recording on Teams Web or Browser
No app? No problem. Record Teams meetings directly in your browser:
- Join via teams.microsoft.com.
- Click ⋯ > "Start recording" (if permitted).
- Follow the same pause/stop flow.
- Same storage: OneDrive/SharePoint.
📱 Mobile Recording (iOS/Android):
- Open Teams app, join meeting.
- Tap ⋯ > "Start recording".
- Ideal for on-the-go captures, but desktop offers better quality.
👥 How Participants Can Record a Teams Meeting
Not the host? You might still record a Microsoft Teams meeting if policies allow:
- During the meeting, ⋯ > "Start recording".
- If blocked, request from organizer via chat.
- Your recording saves to your OneDrive.
![Teams participant view with recording options]()
💾 Where Do Teams Recordings Go? Easy Access Guide
Recordings aren't lost—they're organized:
- One-on-One/Private: Organizer's OneDrive > Recordings.
- Channel Meetings: SharePoint site > Recordings.
- Expiration: Auto-delete after 60-120 days (configurable).
- View/Edit: Open in Stream or OneDrive; trim via editor tools.
🔧 Troubleshooting: Fix Common Recording Issues
Encounter glitches? Quick fixes:
- "Recording unavailable": Check admin policy or license. Restart Teams.
- No Audio/Video: Verify mic/camera permissions; test in settings.
- Storage Full: Clear OneDrive space or extend retention.
- Local Recording Fallback: For offline, use built-in tools like Windows Xbox Game Bar (Win+G), but cloud is superior for sharing.
For advanced help, visit Microsoft Teams Documentation.
⭐ Top Tips to Elevate Your Teams Recordings
- Announce recording at start for buy-in.
- Use transcripts and captions for accessibility.
- Share clips via Stream for highlights.
- Test a dummy meeting first. 🎯
- Integrate with Power Automate for auto-posting.
Mastering how to record a Microsoft Teams meeting transforms your workflow. Now equipped with these steps, capture knowledge effortlessly and focus on what matters—collaboration! Ready to try? Schedule that next meeting and hit record. Share your success stories below. 👏