Steam エラー 4008 – 意味と修正方法
Warhammer 40,000: Darktideをプレイしようとした際、サーバーへの参加に失敗するエラーコード4008を修正する方法を見つけ、このエラーが発生する理由を学びましょう。
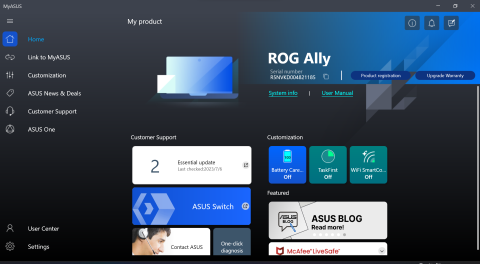
The Basic Input/Output System (BIOS) is a fundamental part of any computer, bridging the hardware and software. Keeping your BIOS updated is essential for maintaining optimal system performance and stability. In this blog post, we’ll guide you through the process of updating the BIOS on your Asus ROG Ally.
Before we delve into the steps, it’s important to understand what BIOS is. BIOS is a type of firmware used during any computer’s booting process (start-up). It initializes and tests the system hardware components and loads a bootloader or an operating system from a mass memory device. Updating the BIOS can improve hardware compatibility, add features, and fix bugs.
Precautions Before Updating BIOS
Updating BIOS is a critical process that could potentially harm your system if not done correctly. Here are some precautions you should take:
How to Update BIOS on Asus ROG Ally

After the BIOS update has successfully been installed, your ROG Ally may restart again to apply any changes, similar to performing a Windows update. Patience is key, as you don’t want your ROG Ally to accidentally power off, which could result in you needing to re-install Windows completely.
Check for Other Important Updates
While ensuring that the BIOS is regularly updated on your ASUS ROG Ally is important, that’s not the only update you should pay attention to. There are many different things going on that help make the Ally work and run the way it does out of the box. So it’s also essential to keep the gaming handheld updated everywhere possible.
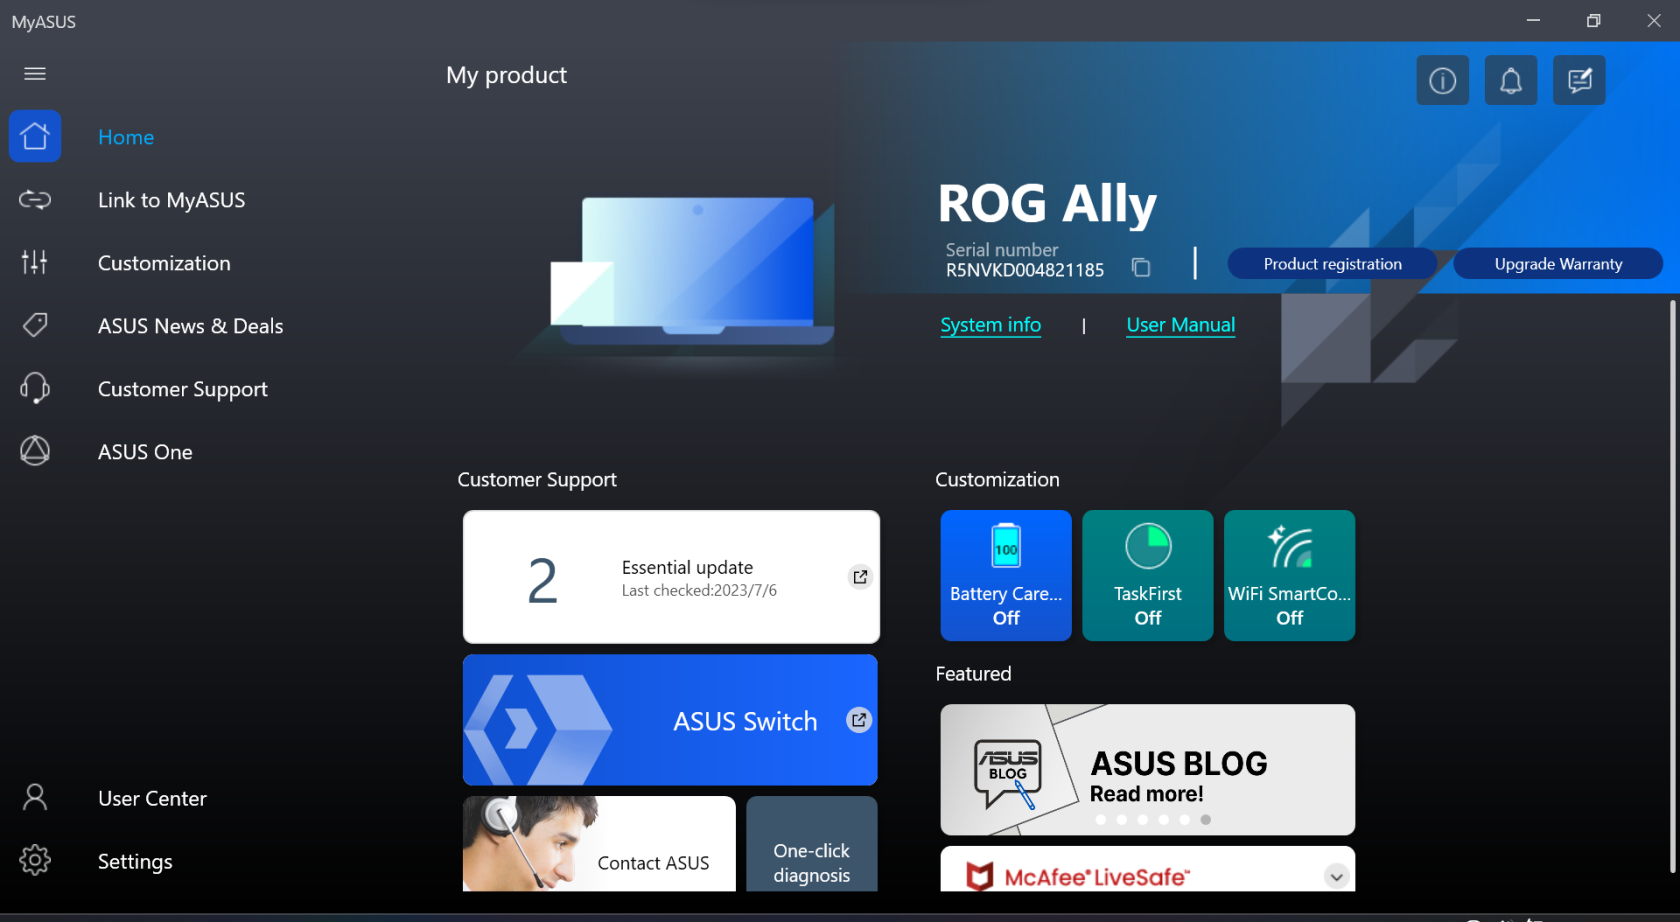
The first is through the Armoury Crate software that provides the handheld interface you see when you power on the ROG Ally. And in addition to the Armoury Crate app itself, you’ll also be able to update different aspects of the Ally from the app. Here’s how you can do so:


How to update BIOS on Asus ROG Ally – 1
Ensure Windows Is up to Date
Last but certainly not least is the need to make sure that Windows is updated to the latest version. Because this is a Windows PC, Microsoft is releasing regular updates to provide improvements to stability along with new features and more. Here are the steps that you’ll need to take to update Windows from your ASUS ROG Ally:


If you were updating any other Windows computer, you’d be prompted to restart after downloading the updates. Just follow the on-screen steps, make sure your ROG Ally stays connected to power, then wait for the updates to be installed. Then, you’ll be back up and running with the latest updates.
Conclusion
Keeping your BIOS updated is crucial for maintaining the performance and stability of your Asus ROG Ally. While the update process requires care, it can be done safely by following the correct steps and taking the necessary precautions. With this guide, you should now be able to update the BIOS on your Asus ROG Ally. Enjoy the improved performance and new features of your updated system!
Warhammer 40,000: Darktideをプレイしようとした際、サーバーへの参加に失敗するエラーコード4008を修正する方法を見つけ、このエラーが発生する理由を学びましょう。
PC 上でゲーム バーに「Windows デスクトップではゲーム機能を利用できません」というエラーが表示され続ける場合は、次のヒントを試して問題を解決してください。
PS5での3Dオーディオ設定方法、臨場感あふれるゲーム体験を推奨。
このガイドでは、ゲーム中に2台のモニター間でマウスを移動するために有効にする必要がある設定を詳しく説明します。
Razer Synapse 3.0を使って、キーボードのキーに二次機能を設定する方法を学び、作業効率を向上させましょう。
Xbox リモート プレイを有効にするための基本要件やトラブルシューティング手順を確認し、スムーズなゲームプレイを楽しむための11の修正方法を紹介します。
ゲーム機を購入せずにPCでXbox360ゲームを楽しむ完全ガイド。エミュレーターを使用して簡単にプレイできます。
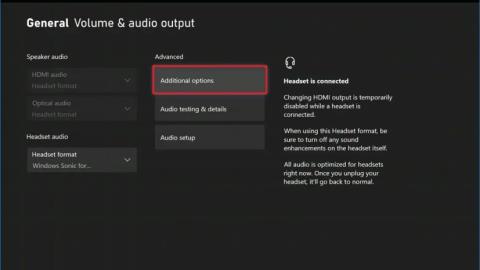
Xbox 起動音を無効にするには、[設定] > [一般] > [音量とオーディオ出力] > [追加オプション] を開き、[起動音をミュート] をオンにして無効にします。
PS Remote Play を使用すると、PS5 コントローラーを使ってPCでPlayStationゲームをプレイできます。ゲームプラットフォームでDualSenseコントローラーをサポート。
Steamには、想像を絶するあらゆるジャンルを網羅する50,000以上のビデオゲームが用意されていますが、中には見せたくないゲームもあります。この記事では、Steamでゲームを非表示にする方法を詳しく説明します。
