Windows 11におけるシステムの復元手順
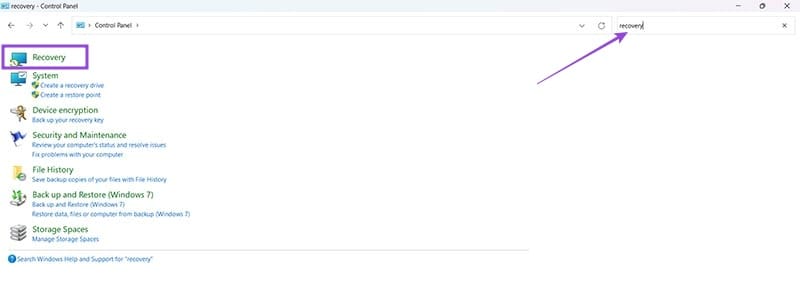
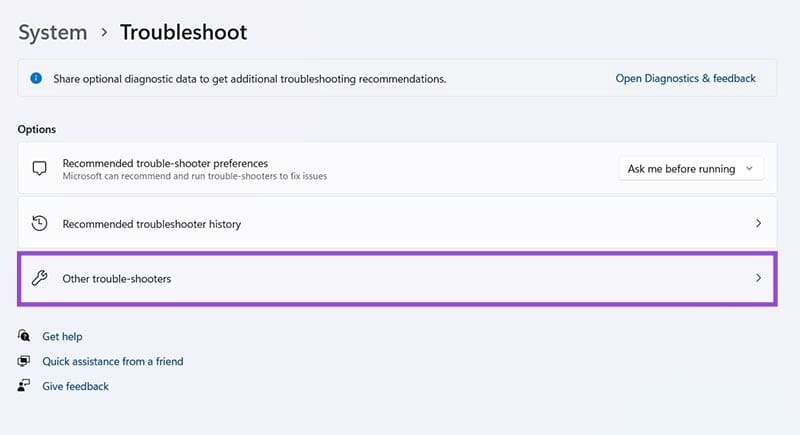
エラーやクラッシュが発生している場合は、Windows 11でのシステム復元手順に従ってデバイスを以前のバージョンに戻してください。
A Windows 10 PC connected to the internet helps you get the best out of your computer. However, this comes at a cost as Windows 10 is naturally one heck of a data-demanding operating system. If you are using a limited or capped data plan to access the internet on your PC, you’d definitely want to monitor and reduce how much data the Windows 10 OS consumes. That’s why we’ve listed seven (7) different ways to get that done in this post.

Even if you don’t have a limited internet plan, these methods are useful. Also, it’s about time you’ve noticed that your Windows 10 PC consumes way too much data than usual. So, to use your internet plan judiciously, you should also reduce your Windows 10 computer data usage using the tips listed below.
One of the easiest ways to make your Windows 10 computer use less data than it normally would is to make your internet connection metered. On a metered network, your Windows computer will suspend some data-consuming activities like the automatic download of Windows updates, automatic app updates, automatic updates of Start Menu Tiles, and a few other functions that consume data in the background.
Here’s how to easily make your internet connection metered on any Windows 10 computer.
Step 1: Launch the Windows Settings menu.
Step 2: Select ‘Network & Internet’ option.

Step 3: In the Status section, Windows will show you the network your PC is currently connected to (could be Wi-Fi or Ethernet). To change the network status to metered, tap ‘Change network properties’ option.

Step 4: Scroll to the Metered connection section, and if the ‘Set as metered connection’ option is toggled off. Flick it on.

And that’s it. Your connection is now metered.
For users on an internet plan with limited bandwidth, setting how much data you want to use on your PC is a brilliant way to reduce data usage. Let’s say your internet plan’s data bandwidth is capped at 20GB, and you don’t want your PC to use more than 2GB per week. So you can set a weekly data limit of 2GB on your computer. That way, you are in total control of your PC’s data consumption.
Before you set a data limit, having your PC’s connection set to metered (check method #1 above) could further help reduce data usage. Now, let’s see how to set a data limit on your Windows 10 computer.
Step 1: Launch the Windows Settings menu.
Step 2: Select ‘Network & Internet’ option.

Step 3: On the left-hand section, tap Data usage.

Step 4: In the Data limit section, tap the Set limit button.

Note: Ensure the active internet connection (that you want to reduce data usage on) is selected in the ‘Show settings for’ section.
Step 5: Choose the data limit type you want to set. On Windows 10, you can only set Monthly, One-time, or Unlimited data limits.


Step 6: When you’re done configuring the data limit to your preference, tap Save.

When you’ve hit the set data limit, your computer notifies you about it. You can either readjust the data limit or remove it entirely. Navigate to Settings > Network & Internet > Data usage to edit or remove a data limit.

By default, the Windows 10 OS is designed to use your internet data to install and update certain Windows Store apps. If left unrestricted, these background app updates could consume a huge chunk of your (limited) internet plan. Follow the steps below to restrict background data usage on your Windows 10 computer.
Step 1: Launch the Windows Settings menu.
Step 2: Select ‘Network & Internet’.

Step 3: On the left-hand section, tap Data usage.

Step 4: Scroll to the Background data section and select Never to restrict the background usage of data by the Windows Store.

Alternatively, if you have an active data limit set on your computer, you can restrict background data usage when you hit 10% of your data limit.

The Windows 10 OS lets some app run in the background, even when the apps are closed, and you aren’t using them. Not only do some of these apps (with permission to run in the background) silently consume your internet bandwidth, they also run your PC’s battery down faster than usual.
If you are looking to limit your Windows PC’s data usage to the barest minimum, one thing to do is to turn off background apps or reduce the number of apps running in the background. Here’s how to go about it.
Step 1: Launch the Windows Settings menu.
Step 2: Select Privacy.

Step 3: Scroll to the bottom of the left-hand section and select Background apps.

Step 4: Tap the ‘Let apps run in the background’ option to toggle it off and disable background apps.

Alternatively, you can turn off select apps from running in the background. That way, the functioning of relevant apps won’t be disrupted.
Step 5: Scroll to the ‘Choose which apps can run in the background’ and turn off apps you don’t want running in the background.

When you sign-in your Microsoft account to your PC, the Windows 10 operating system syncs the PC’s settings (and other configurations) to other computers you have the Microsoft account signed into. While this is a nifty feature, it consumes your data, and you most likely don’t need to have it on at all times.
To save data, you should disable this setting and only turn it on only when you need to sync your settings to other devices. Here’s how to get it done.
Step 1: Launch the Windows Settings menu.
Step 2: Select Accounts.

Step 3: Tap ‘Sync your settings’ option.

Step 4: Toggle off the Sync settings option.

On every Windows 10 PC, default Windows app or apps you manually install from the Microsoft Store are set to get updated automatically as soon as there’s a new version available. While automatic app updates come with its advantages, it’s bad for your limited data/internet plan. Although making your internet connection metered temporarily halts these automatic app updates, you can (and should) also directly disable auto-update within the Microsoft Store.
Here’s how to get it done.
Step 1: Launch your PC’s Microsoft Store.
Step 2: On the homepage, tap the three-dotted menu icon at the top-right corner.

Step 3: Next, select Settings.

Step 4: Toggle off the ‘Update apps automatically’ option.

Windows updates are important; they fix bugs and generally help your PC perform better. However, these updates are huge (size-wise) and could be a data hog, particularly if you are on a limited data/internet plan. A good way to reduce your PC’s Windows update-related data usage is to pause the update till a later date, preferably when you have access to an uncapped wireless or Ethernet network. Follow the steps below to see how it’s done.
Step 1: Launch your PC’s Windows Settings menu.
Step 2: Select ‘Updates & Security’ option.

Step 3: On the Windows Update page, select ‘Advanced options’ from the right pane.

Step 4: In the Pause update section, tap the Pause until the drop-down button to select a date you want to defer automatic download and installation of Windows updates till.

Note: The maximum duration you can temporarily pause Windows updates for on your computer is 35 days. After this period, your computer will resume automatic download of Windows updates until you pause it again.
Unexpectedly exhausting your internet data plan before its expiration period could get annoying. Also, it will end up costing you more for activating those flexi-packs and what not. To prevent that, you should ensure that your computer uses your internet for the important stuff only. Take control and reduce your Windows 10 PC data usage by only letting the bare minimum activities access it for necessary updates.
Next up: Streaming videos on YouTube can quickly eat up your limited internet plan. Check out some useful tips to reduce YouTube data usage on mobile and PC.
エラーやクラッシュが発生している場合は、Windows 11でのシステム復元手順に従ってデバイスを以前のバージョンに戻してください。
マイクロソフトオフィスの最良の代替を探しているなら、始めるための6つの優れたソリューションを紹介します。
このチュートリアルでは、特定のフォルダ位置にコマンドプロンプトを開くWindowsデスクトップショートカットアイコンの作成方法を示します。
最近のアップデートをインストールした後に問題が発生した場合に壊れたWindowsアップデートを修正する複数の方法を発見してください。
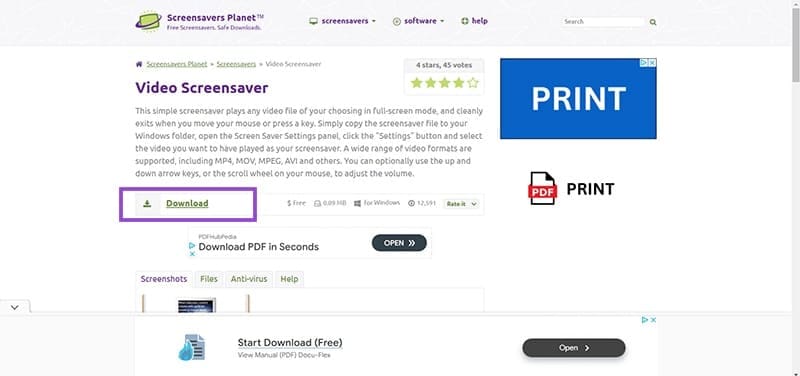
Windows 11でビデオをスクリーンセーバーとして設定する方法に悩んでいますか?複数のビデオファイル形式に最適な無料ソフトウェアを使用して、解決方法をご紹介します。
Windows 11のナレーター機能にイライラしていますか?複数の簡単な方法でナレーター音声を無効にする方法を学びましょう。
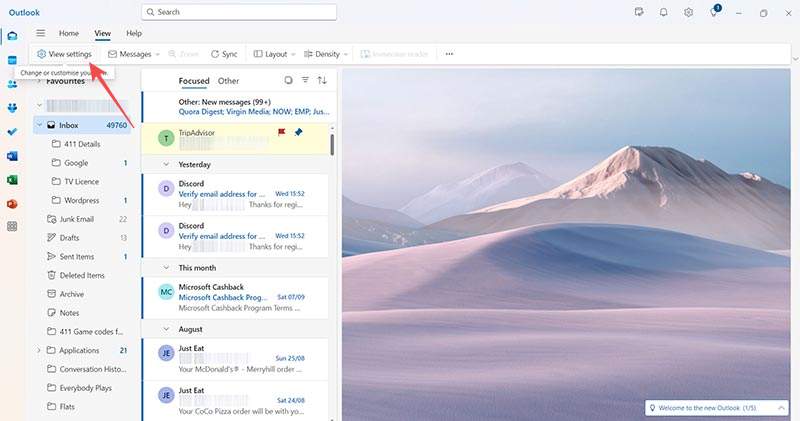
複数のメール受信箱を維持するのは大変な場合があります。特に重要なメールが両方に届く場合は尚更です。この問題に対する解決策を提供する記事です。この記事では、PCおよびApple MacデバイスでMicrosoft OutlookとGmailを同期する方法を学ぶことができます。
キーボードがダブルスペースになる場合は、コンピュータを再起動し、キーボードを掃除してください。その後、キーボード設定を確認します。
リモートデスクトップを介してコンピューターに接続する際に“Windowsはプロファイルを読み込めないため、ログインできません”エラーを解決する方法を示します。
Windowsで何かが起こり、PINが利用できなくなっていますか? パニックにならないでください!この問題を修正し、PINアクセスを回復するための2つの効果的な解決策があります。

