Are you tired of Microsoft Edge Game Assist popping up during your gaming sessions on Windows 11? This built-in feature, designed to optimize browser performance for games, often causes unwanted overlays, resource hogging, and FPS drops. 😩 Don't worry—disabling it is straightforward and takes minutes. Follow our expert, tested steps to reclaim your gaming experience. You'll game smoother and stress-free! Let's dive in.
Why Disable Microsoft Edge Game Assist on Windows 11?
- 🛑 Reduces lag: Frees up CPU/GPU for your games.
- ⭐ Eliminates distractions: No more intrusive HUDs or tips.
- ✅ Improves battery life: Ideal for laptops.
- 🎮 Perfect for gamers prioritizing performance over browser aids.
Ready to disable Microsoft Edge Game Assist? We cover three foolproof methods, from beginner-friendly to advanced. Pick one and follow along!
Method 1: Disable via Microsoft Edge Settings (Easiest for Beginners) 👆
The quickest way to turn off Edge Game Assist is through Edge's built-in menu. No restarts needed!
- Open Microsoft Edge and type
edge://settings/system in the address bar. Hit Enter.
- Scroll to the Performance section.
- Toggle off Game Assist or Gaming Mode (it may appear under Efficiency or Optimization tools).
- Click Save and relaunch Edge.
Pro tip: If it's grayed out, update Edge first via edge://settings/help. Boom—your games are free! 🎉
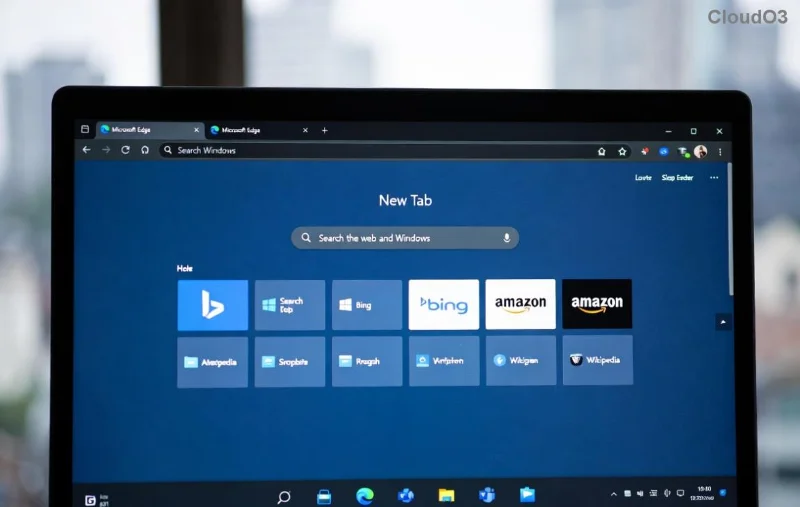
Method 2: Use Windows 11 Settings for System-Wide Control 🖥️
For deeper integration fixes, tweak Windows 11 native options. This stops Edge from auto-triggering Game Assist.
![Windows 11 Settings menu showing Edge performance options]()
- Press Win + I to open Settings.
- Go to Apps > Installed apps > Search for Microsoft Edge.
- Click the three dots > Advanced options.
- Under Performance, disable Game Assist and Startup Boost.
- Restart your PC for changes to stick.
This method ensures Microsoft Edge Game Assist stays off even after updates. Feeling empowered yet? Keep reading for pro tweaks! 🚀
Compare Methods: Which One to Choose? 📊
| Method |
Difficulty |
Time |
Best For |
Permanence |
| Edge Settings |
⭐ Easy |
1 min |
Beginners |
Medium (resets on update) |
| Windows Settings |
⭐⭐ Medium |
2 mins |
Laptop users |
High |
| Registry Edit (Next) |
⭐⭐⭐ Advanced |
5 mins |
Power users |
Permanent |
Method 3: Advanced Registry Edit for Permanent Disable 🔧
Want it gone forever? Edit the Registry (backup first!). This targets Edge's core gaming flags.
![Registry Editor showing Edge Game Assist keys on Windows 11]()
- Press Win + R, type
regedit, and hit Enter.
- Navigate to:
HKEY_LOCAL_MACHINE\SOFTWARE\Policies\Microsoft\Edge
- Right-click Edge > New > DWORD (32-bit) Value. Name it GameAssistEnabled.
- Double-click it, set Value data to 0, Base: Hexadecimal.
- Restart Edge or PC.
⚠️ Warning: Always export your Registry key before editing. New to Registry? Practice on a test account.
For official guidance, check Microsoft's docs: Edge Policies.
Troubleshooting Common Issues 🚫
Still seeing Edge Game Assist? Try these fixes:
- Update Edge:
edge://settings/help → Check for updates.
- Reset Edge: Settings > Reset settings.
- Disable via Group Policy (Pro editions):
gpedit.msc → Computer Configuration > Administrative Templates > Microsoft Edge > Set Game Assist to Disabled.
- Clear Edge cache:
edge://settings/clearBrowserData.
Bonus Tips to Supercharge Your Windows 11 Gaming Setup 🎮
After disabling, level up further:
- Enable Game Mode in Windows Settings > Gaming.
- Use DirectX 12 for better Edge compatibility.
- Monitor with Task Manager—watch resources drop!
Congratulations! You've mastered how to disable Microsoft Edge Game Assist on Windows 11. Your setup is now optimized for epic wins. 👏 Share your results in the comments—did FPS improve? For more Windows tweaks, stick around!


")
