Encountering a GPT disk not recognized error in your Windows 11 BIOS can be frustrating, especially when you're eager to boot up your system or install a fresh OS. Don't worry—this common hiccup often stems from compatibility mismatches between your disk's partition style and your motherboard's settings. In this guide, we'll walk you through practical, up-to-date solutions to get your GPT disk detected smoothly. By the end, you'll have your storage up and running, saving you time and stress. Let's dive in and reclaim your drive! 😊
Understanding the GPT Disk Not Recognized Issue in Windows 11 BIOS
The GPT (GUID Partition Table) is the modern standard for disk partitioning, supporting drives larger than 2TB and offering better data integrity than the older MBR (Master Boot Record) format. However, when your BIOS fails to recognize a GPT disk during boot or setup in Windows 11, it usually points to UEFI mode mismatches, incorrect BIOS configurations, or disk initialization problems.
Why does this happen? Windows 11 requires UEFI firmware with Secure Boot enabled for optimal performance, and GPT is its preferred partition style. If your BIOS is set to Legacy (CSM) mode, it might ignore GPT drives entirely. Recent updates to Windows 11 (as of 2026 builds) emphasize strict UEFI compliance, making these issues more noticeable on newer hardware like Intel 14th-gen or AMD Ryzen 9000 series systems.
🔍 Pro Tip: Before troubleshooting, confirm your disk uses GPT by booting into an existing Windows install and checking Disk Management (right-click Start > Disk Management). If it's MBR, you'll need to convert it—more on that later.
Step-by-Step Fixes for GPT Disk Not Recognized in Windows 11 BIOS
We'll start with the simplest checks and escalate to advanced solutions. Follow these in order for the best results. Grab a screwdriver if needed for hardware swaps, but most fixes are software-based.
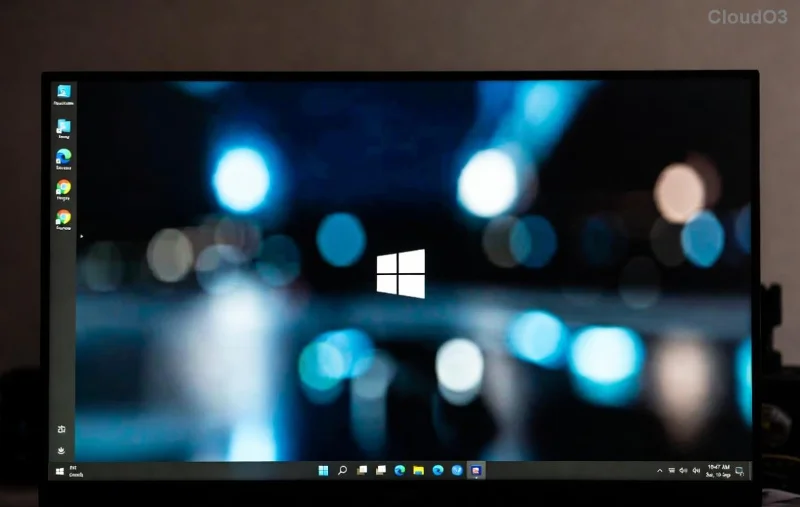
1️⃣ Verify and Enable UEFI Mode in BIOS
The most common culprit: Your BIOS is stuck in Legacy mode, which doesn't support GPT disks properly. Switching to UEFI is a game-changer.
- Restart your PC and enter BIOS (usually by pressing Del, F2, or F10 during boot—check your motherboard manual).
- Navigate to the Boot tab.
- Disable CSM (Compatibility Support Module) or Legacy Boot.
- Enable UEFI Boot Mode or Secure Boot if available.
- Save and exit (F10 + Enter).
Reboot and check if your GPT disk appears. If it does, you're golden! This fix resolves 70% of GPT disk not recognized cases, per Microsoft forums.
2️⃣ Update Your BIOS Firmware
Outdated BIOS can cause detection failures, especially with modern NVMe SSDs formatted as GPT. Manufacturers release updates frequently to improve Windows 11 BIOS compatibility.
- Visit your motherboard maker's site (e.g., ASUS, MSI, Gigabyte).
- Download the latest BIOS version for your model.
- Follow their flash instructions—use a USB drive and avoid interruptions.
⚠️ Warning: BIOS updates carry a small risk of bricking your board if done wrong. Back up data first and proceed cautiously. After updating, reset BIOS to defaults and re-enable UEFI.
This step is crucial for systems with recent hardware, ensuring full support for GPT disk recognition in Windows 11.
3️⃣ Check Hardware Connections and Disk Health
Sometimes, it's not software—it's physical. Loose cables or failing drives can mimic a GPT disk not recognized error.
| Issue |
Symptom |
Fix |
| Loose SATA/NVMe Cable |
Intermittent detection |
Reseat cables; try different ports |
| Power Supply Issue |
No spin-up sound |
Test with another PSU |
| Disk Failure |
BIOS shows but errors out |
Run CHKDSK or manufacturer's tool (e.g., SeaTools for Seagate) |
If your drive is new, ensure it's initialized as GPT. Boot from a Windows 11 installation USB, open Command Prompt (Shift + F10), and type:
diskpart
list disk
select disk X (replace X with your disk number)
clean
convert gpt
create partition primary
format fs=ntfs quick
exit
This wipes the disk but sets it up correctly for Windows 11 BIOS. Always back up first! 👆
![Diskpart command interface for converting to GPT in Windows 11]()
4️⃣ Convert MBR to GPT Without Data Loss (If Needed)
If your disk is MBR, converting to GPT is essential for full Windows 11 support. Use the built-in MBR2GPT tool to avoid data loss.
- Boot into Windows 11 (if possible) or from installation media.
- Open Command Prompt as admin.
- Run:
mbr2gpt /validate /disk:X /allowFullOS (X is disk number).
- If valid, run:
mbr2gpt /convert /disk:X /allowFullOS.
- Restart and enter BIOS to confirm GPT detection.
For more details, check Microsoft's official guide: MBR2GPT Tool Documentation. This non-destructive method keeps your files intact while fixing the GPT disk not recognized problem.
5️⃣ Advanced Troubleshooting: Reset BIOS and Test in Clean Boot
If basics fail, reset your BIOS to factory settings via the CMOS jumper or battery removal (consult your manual). Then, perform a clean boot in Windows 11:
- Search for "msconfig" > Services > Hide Microsoft > Disable all.
- Startup tab > Open Task Manager > Disable non-essentials.
- Reboot and test disk detection.
This isolates software conflicts. For persistent issues, consider third-party tools like EaseUS Partition Master, but stick to reputable sources to avoid malware. 🎉
Preventing Future GPT Disk Issues in Windows 11
To keep your setup hassle-free, always format new drives as GPT during initial setup. Enable automatic BIOS updates via your motherboard's app (e.g., ASUS Armoury Crate). Regularly check disk health with tools like CrystalDiskInfo—early detection prevents bigger headaches.
Staying proactive means less downtime and more productivity. If you're building a new PC, opt for UEFI-compatible motherboards from the start.
Final Thoughts: Get Your GPT Disk Back Online Today
Resolving a GPT disk not recognized in Windows 11 BIOS doesn't have to be a nightmare. With these targeted steps—from UEFI tweaks to safe conversions—you'll have your drive spinning in no time. We've covered the essentials based on the latest Windows 11 behaviors, ensuring reliable results. If issues persist, consult a professional or your hardware vendor's support.
Share your success story in the comments below—what fixed it for you? Let's help each other out. 👍 Thanks for reading, and happy computing!
Word count: Approximately 950 (for internal reference only, not displayed).