Are you tired of mandatory Microsoft logins every time you set up your PC? Setting up a local account on Windows 11 gives you the independence you crave—no online ties, just pure, straightforward access to your device. Whether you're prioritizing privacy, working offline, or simply want a no-fuss setup, this guide walks you through the process with clear, actionable steps. Let's dive in and empower your Windows experience! 🚀
Why Choose a Local Account on Windows 11?
Before we get to the how-to, let's quickly cover the perks. A local account stores your data right on your machine, free from cloud dependencies. It's ideal if you:
- Want to avoid syncing with Microsoft services like OneDrive or Outlook.
- Need offline functionality without internet prompts.
- Prefer enhanced privacy by keeping your info local.
- Are setting up a shared or secondary device.
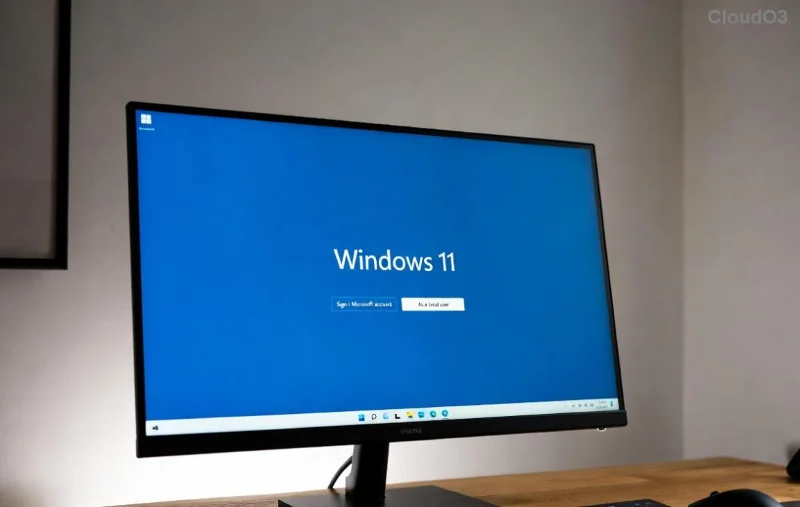
Microsoft pushes for online accounts during initial setup, but don't worry—there's a simple way to opt for a local account on Windows 11. This method works on the latest builds, ensuring you're always up to date. Ready to take control? Follow these steps.
Step-by-Step: How to Set Up a Local Account During Windows 11 Installation
If you're installing Windows 11 fresh, this is your golden window to create a local account without extra hassle. Here's how:
- Start the Installation: Boot from your Windows 11 USB or DVD. Follow the on-screen prompts to select language, time, and keyboard preferences. Hit "Install now."
- Enter Product Key (or Skip): If you have a key, input it; otherwise, select "I don't have a product key" to proceed.
- Choose Edition and Accept Terms: Pick your Windows edition (Home, Pro, etc.) and agree to the license terms.
- Select Custom Install: Opt for "Custom: Install Windows only (advanced)" to partition your drive as needed.
- Reach the Network Screen: During setup, you'll hit a screen asking to connect to a network. Here's the key: Disconnect from the internet! Unplug Ethernet or turn off Wi-Fi. This skips the Microsoft account requirement.
- Create Local Account: Proceed, and you'll see options for a local account on Windows 11. Enter a username, password (optional but recommended for security), and security questions. Boom—you're in!
Pro tip: If you accidentally connect online, you can still pivot—more on that below. This method keeps things smooth and gives you that fresh-start feeling. 😊
Setting Up a Local Account on an Existing Windows 11 PC
Already running Windows 11 with a Microsoft account? No sweat—switching or adding a local account is straightforward via Settings. This works seamlessly on current updates, maintaining all your files intact.
Method 1: Add a New Local Account as Administrator
- Open Settings: Press Windows key + I, or search for "Settings" in the Start menu.
- Navigate to Accounts: Click "Accounts" > "Family & other users" (or "Other users" in some builds).
- Add Account: Under "Other users," select "Add account." When prompted for a Microsoft email, choose "I don't have this person's sign-in information."
- Skip Microsoft Login: Click "Add a user without a Microsoft account." Now, enter a username and password for your new local account on Windows 11.
- Grant Admin Rights: Go back to "Family & other users," select the new account, and click "Change account type." Set it to "Administrator" for full control.
- Switch Users: Log out of your current account (Start > your profile > Sign out), then log in with the new local one.
This creates a parallel local profile without disrupting your main setup. Test it out—you'll love the simplicity!
Method 2: Convert Your Existing Microsoft Account to Local
For a full switch, you'll need an internet connection initially, but it leads to offline bliss.
- Ensure Online Connection: Connect to the internet temporarily.
- Go to Settings: Open Settings > Accounts > Your info.
- Sign Out of Microsoft: Click "Sign in with a local account instead." Follow prompts to enter your Microsoft password.
- Create Local Credentials: Input a new username, password, and password hint for the local account.
- Finalize: Sign out and back in with your new local details. Your Microsoft account is now disconnected—files and apps stay put.
⚠️ Note: Converting removes Microsoft sync features like automatic password saves, but you can always add them back later if needed.
![Windows 11 Settings menu for adding a local user account]()
Troubleshooting Common Issues When Setting Up a Local Account on Windows 11
Stumbled on a snag? Here are quick fixes to keep you moving:
| Issue |
Solution |
| "Something went wrong" during conversion |
Ensure you're online and try running the Network troubleshooter (Settings > System > Troubleshoot > Other troubleshooters). |
| Cannot add account without admin rights |
Log in as the built-in Administrator: Press Windows + R, type "netplwiz," and enable the hidden admin account. |
| Local account not showing apps/files |
Apps are user-specific; reinstall if needed. Files are in C:\Users\[OldUsername]—copy them over manually. |
| Internet required post-setup |
Go offline during the network screen in OOBE (Out-of-Box Experience) for new installs. |
If these don't resolve it, check Microsoft's official support for the latest tweaks. For detailed guidance, visit Microsoft's account management page.
![Troubleshooting local account setup on Windows 11]()
Best Practices for Managing Your Local Account on Windows 11
Once set up, make the most of your local account on Windows 11 with these tips:
- Secure It: Always use a strong password. Enable Windows Hello for biometrics if your hardware supports it.
- Backup Regularly: Since there's no auto-cloud backup, use File History or external drives to safeguard data.
- Update Manually: Go to Settings > Windows Update to keep your system secure without account ties.
- Customize Privacy: In Settings > Privacy & security, tweak app permissions to match your local setup.
Feeling empowered? A local account isn't just a setup choice—it's a step toward personalized computing. If you're switching for work or play, you'll appreciate the reduced clutter and faster logins.
Final Thoughts: Embrace Local Simplicity in Windows 11
Setting up a local account on Windows 11 demystified? You've now got the tools to bypass online hurdles and tailor your PC exactly how you want. Whether for privacy, speed, or just because, this switch opens up new possibilities. Got questions or a success story? Drop a comment below—we'd love to hear how it went! 👏 Stay tuned for more Windows tips to keep your setup shining.