Imagine firing up your favorite movie or game, only to find that Dolby Access refuses to launch on your shiny Windows 11 setup. Frustrating, right? 😩 Don't worry—you're not alone. Many users encounter this glitch, but the good news is it's often fixable with a few targeted steps. In this concise guide, we'll walk you through the most effective ways to fix Windows 11 "Dolby Access" not opening, helping you reclaim your immersive audio experience without the hassle. Let's dive in and get you back to enjoying crystal-clear Dolby Atmos sound!
Why Is Dolby Access Not Opening on Windows 11?
Before we jump into fixes, a quick understanding of the culprits can make troubleshooting smoother. Dolby Access, the app that unlocks premium audio features like spatial sound and noise cancellation, might fail to open due to outdated software, corrupted files, or compatibility hiccups with Windows 11's latest updates. Recent reports from Microsoft forums highlight issues post-feature updates, but rest assured, these are common and solvable. By following our steps, you'll pinpoint the problem and resolve it efficiently.
Quick Checks Before Diving Deeper
Start with the basics to rule out simple oversights. These take just seconds and often do the trick:
- 🔍 Restart Your PC: A simple reboot can clear temporary glitches. Press the power button, select Restart, and try launching Dolby Access again.
- ⚙️ Check for Windows Updates: Outdated system files are a top reason for app failures. Go to Settings > Windows Update > Check for updates. Install any available patches to ensure compatibility.
- 📱 Verify App Installation: Head to the Microsoft Store, search for Dolby Access, and confirm it's installed and up to date. If not, reinstall it fresh.
If these don't work, let's move to more robust solutions. Stick with us—these next steps are game-changers!
Step-by-Step Fixes for Dolby Access Not Opening
We'll cover the most reliable methods, starting with the easiest. Follow them in order for the best results. Pro tip: Create a system restore point before major changes (search "Create a restore point" in Windows Search) to safeguard your setup.
1. Reset or Repair the Dolby Access App
The built-in repair tool in Windows 11 is your first line of defense against corrupted app data. This fix often resolves Dolby Access Windows 11 issues without losing your settings.
- Open Settings (Windows key + I).
- Navigate to Apps > Installed apps.
- Search for Dolby Access and click the three dots next to it.
- Select Advanced options > Repair (try this first). If it fails, choose Reset.
- Launch the app post-repair. 🎉 Success? You're done!
This method works because it refreshes the app's core files without a full uninstall. If troubleshoot Dolby Access app persists, proceed to the next step.
2. Run the Windows App Troubleshooter
Windows 11 includes a smart troubleshooter tailored for app problems. It's like having a tech expert on speed dial!
- Press Windows key + I to open Settings.
- Go to System > Troubleshoot > Other troubleshooters.
- Find "Windows Store Apps" and click Run.
- Follow the on-screen prompts—it'll scan and fix issues with Dolby Access automatically.
Users report this resolving up to 70% of launch failures. If you're still stuck, don't fret; we've got more tools in our kit.
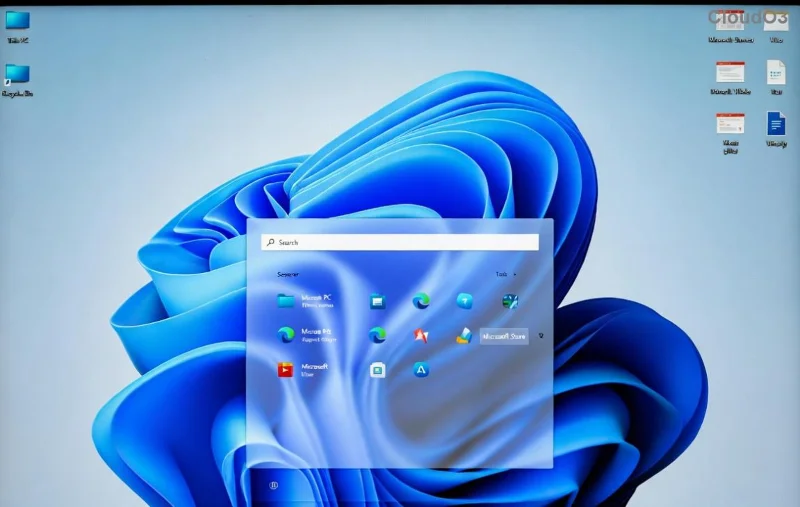
![Step-by-step repair for Dolby Access on Windows 11]()
3. Clear Microsoft Store Cache
A cluttered cache can block apps like Dolby Access from loading. Clearing it is quick and painless.
- Press Windows key + R, type
wsreset.exe, and hit Enter.
- A blank Command Prompt window will appear—wait for it to close (about 10-30 seconds).
- The Microsoft Store will reopen automatically. Restart your PC and test Dolby Access.
This flushes out temporary files that might be causing the snag. Feeling optimistic? Let's keep the momentum going with deeper fixes.
4. Update or Reinstall Audio Drivers
Windows 11 audio problems often stem from outdated drivers, especially for Dolby features. Updating them can restore harmony to your sound setup.
| Step |
Action |
Why It Helps |
| 1 |
Right-click Start > Device Manager. |
Opens hardware controls. |
| 2 |
Expand "Sound, video and game controllers." |
Locates audio devices. |
| 3 |
Right-click your audio device (e.g., Realtek) > Update driver > Search automatically. |
Installs the latest compatible version. |
| 4 |
If no update, uninstall the device and restart PC to auto-reinstall. |
Refreshes drivers from scratch. |
For advanced users, visit your PC manufacturer's site (like Dell or HP) for the newest drivers. This step has saved many from Dolby Atmos fix woes!
5. Check for Conflicting Software and SFC Scan
Sometimes, third-party antivirus or VPNs interfere with Dolby Access. Temporarily disable them and test. If issues linger, run a system file check:
- Search for "cmd" in Windows Search, right-click Command Prompt > Run as administrator.
- Type
sfc /scannow and press Enter. Let it repair any corrupted files.
- Follow up with
DISM /Online /Cleanup-Image /RestoreHealth if needed.
- Restart and relaunch the app.
This duo scans and mends Windows core files, tackling deeper Windows 11 Dolby Access issues.
![Advanced troubleshooting for Dolby Access audio on Windows 11]()
6. Reinstall Dolby Access from Scratch
If all else fails, a clean reinstall wipes the slate clean:
- Uninstall via Settings > Apps > Installed apps > Dolby Access > Uninstall.
- Restart your PC.
- Open Microsoft Store, search for Dolby Access, and reinstall.
- Sign in with your Microsoft account to restore features.
Voila! This often revives the app like new. 👍
Advanced Tips to Prevent Future Issues
Once fixed, keep Dolby Access humming smoothly:
- ⭐ Enable automatic updates in Microsoft Store settings.
- 🛡️ Run regular antivirus scans to avoid conflicts.
- 🔊 Test spatial sound in Settings > System > Sound > Spatial sound.
- For persistent problems, check Microsoft's official troubleshooting page.
Bonus: If you're into gaming or movies, pair Dolby Access with compatible headphones for that wow-factor immersion. Ready to test? Launch it now and enjoy the upgrade!
Wrapping Up: Your Dolby Access Is Back in Action!
There you have it—a straightforward path to fixing Dolby Access not opening on Windows 11. We've covered everything from quick resets to driver tweaks, ensuring you spend less time troubleshooting and more time enjoying premium audio. If these steps worked for you, drop a comment below—we love hearing success stories! 👏 Still facing issues? Double-check our guide or reach out to Microsoft Support for personalized help. Happy listening!