Are you tired of your Windows 11 laptop suddenly going into hibernate mode right in the middle of an important task? 😩 That frustrating moment when your screen blacks out and you have to wait for it to wake up can disrupt your workflow. But don't worry—disabling auto hibernate on Windows 11 laptops is straightforward and can keep your device running smoothly for longer. In this guide, we'll walk you through the process step by step, helping you regain control over your power settings and optimize your laptop's performance. Let's dive in and get your laptop staying awake when you need it most!
Why Disable Auto Hibernate on Your Windows 11 Laptop?
Before we get to the how-to, let's understand the why. Hibernate mode is a power-saving feature that writes your current session to the hard drive and powers off the laptop, saving battery life. It's great for long periods of inactivity, but on Windows 11 laptops, the default settings might trigger it too soon—often after 30 minutes or so of idle time. This can be a nuisance if you're multitasking, watching videos, or working remotely.
By disabling auto hibernate, you'll:
- 🛡️ Prevent unexpected shutdowns during light use.
- ⚡ Improve responsiveness for quick tasks.
- 🔋 Balance battery life without sacrificing convenience—pair it with sleep mode for the best results.
Recent updates to Windows 11 have refined power management, making it easier than ever to tweak these settings without digging through obscure menus. Whether you're a student pulling an all-nighter or a professional on the go, mastering Windows 11 hibernate settings will make your experience more reliable and frustration-free. Ready to take charge? Let's proceed to the steps.
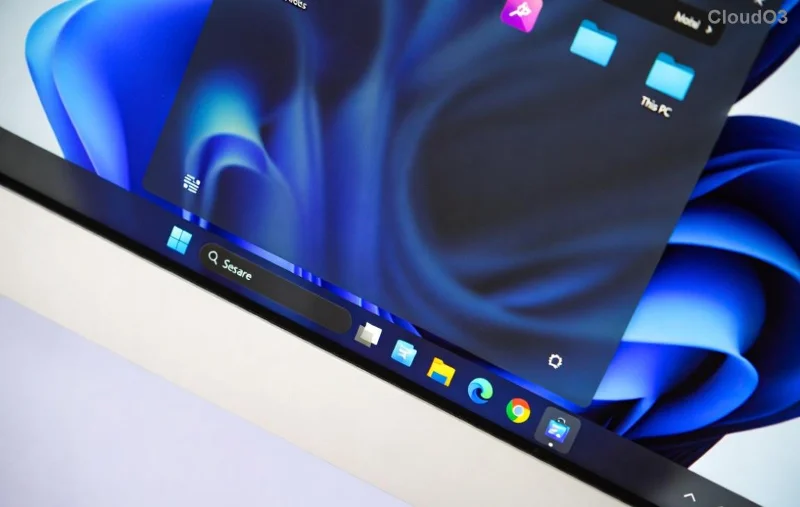
Step-by-Step Guide: How to Disable Auto Hibernate in Windows 11
Windows 11 offers multiple ways to adjust power options, but we'll focus on the most effective methods for laptops. These steps are based on the latest power management features, ensuring compatibility with current builds. Follow along, and you'll have it sorted in under 5 minutes! 👆
Method 1: Using the Settings App (Easiest for Beginners)
This is the user-friendly way to stop hibernate on Windows 11 without needing admin privileges right away.
- Open the Settings app by pressing Windows + I or searching for it in the Start menu.
- Navigate to System > Power & battery.
- Scroll down to Screen and sleep and click on it. Here, you'll see sliders for when your laptop goes to sleep or hibernate on battery vs. plugged in.
- To fully disable hibernate, set the hibernate time to Never (or 0 minutes). If the option isn't visible, proceed to the advanced settings below.
- Click Additional power settings at the bottom to open the classic Power Options window.
Pro tip: If your laptop is plugged in most of the time, adjust only the "On battery" settings to conserve power when mobile. This keeps things balanced and your battery healthy. 🎯
Method 2: Through Power Options (For Precise Control)
For more granular tweaks, the Control Panel's Power Options is your best friend. This method lets you disable auto hibernate Windows 11 across all scenarios.
- Search for Power Options in the Windows search bar and open it.
- Click Change plan settings next to your active power plan (usually Balanced).
- Select Change advanced power settings.
- In the dialog box, expand Sleep > Hibernate after.
- Set both "On battery" and "Plugged in" to Never (or 0).
- Hit Apply and OK. Your changes take effect immediately!
✨ Feeling empowered? This tweak ensures your Windows 11 laptop won't hibernate unexpectedly, even during downloads or background syncs.
![Step-by-step screenshot of disabling hibernate in Windows 11 Power Options]()
Method 3: Command Prompt for Power Users (Quick and Scriptable)
If you prefer command-line efficiency or need to automate this for multiple devices, use the Command Prompt. This is ideal for IT pros managing laptop hibernate settings.
- Right-click the Start button and select Terminal (Admin) or Command Prompt (Admin).
- Type the following command and press Enter:
powercfg /hibernate off
- To re-enable later, use:
powercfg /hibernate on
- Verify by running
powercfg /a—it lists available sleep states, and hibernate should no longer appear if disabled.
⚠️ Note: Disabling hibernate entirely removes the hiberfil.sys file from your drive, freeing up space (up to several GB). If you travel a lot, consider keeping it on for emergency power savings.
Power Settings Comparison: Sleep vs. Hibernate on Windows 11 Laptops
To help you decide, here's a quick table comparing key power states. Understanding these will optimize your Windows 11 power options beyond just disabling hibernate.
| Feature |
Sleep Mode |
Hibernate Mode |
Shut Down |
| Power Usage |
Low (RAM powered) |
Off (saves to disk) |
Off (no power) |
| Wake Time |
Seconds |
10-30 seconds |
Full boot (1-2 minutes) |
| Best For |
Short breaks |
Long inactivity, low battery |
End of day |
| Disk Space |
None |
Uses hiberfil.sys |
None |
As you can see, sleep is often a better alternative to auto hibernate for daily use on Windows 11 laptops. Experiment with these to find your sweet spot!
![Comparison of sleep and hibernate modes on a Windows 11 laptop]()
Troubleshooting Common Issues with Windows 11 Hibernate Settings
Even with the latest updates, glitches happen. If your laptop still hibernates after disabling:
- 🔍 Check for OEM software (like Dell Power Manager or HP Support Assistant) overriding settings. Update or uninstall if needed.
- 📱 Ensure Windows is up to date: Go to Settings > Windows Update and install any available patches.
- 🧹 Run the Power Troubleshooter: Search for Troubleshoot in Settings > Other troubleshooters > Power.
- If all else fails, reset power plans with
powercfg -restoredefaultschemes in admin Command Prompt, then reapply your changes.
For deeper dives, refer to Microsoft's official guide on power plans. It's a reliable resource to fine-tune your setup.
Bonus Tips to Maximize Battery Life Without Hibernate
Disabling auto hibernate on Windows 11 laptops is just the start. To keep your device efficient:
- ⭐ Dim your screen brightness—it's a battery hog!
- 2️⃣ Close unused apps via Task Manager (Ctrl + Shift + Esc).
- 3️⃣ Enable Battery Saver mode in Power & battery settings for automatic optimizations.
- 👏 Update drivers, especially graphics and chipset, from your laptop manufacturer's site.
These habits, combined with your new hibernate-free setup, will make your Windows 11 laptop feel like new. Imagine seamless sessions without interruptions—productivity unlocked! 🚀
Final Thoughts: Take Control of Your Laptop's Power Today
Disabling auto hibernate on Windows 11 laptops empowers you to work on your terms, reducing those annoying wake-up delays and keeping your flow intact. We've covered the essentials, from simple settings tweaks to advanced commands, so you can choose what fits your style. If you're still facing issues or want to explore more power-saving tricks, drop a comment below—we're here to help. Your laptop, your rules—enjoy the uninterrupted power! 😊