Is your Windows 11 PC feeling sluggish, even on demanding tasks? You're not alone. Many users overlook the hidden gem that is the Ultimate Performance Plan, a powerhouse setting designed to squeeze every ounce of speed from your hardware. But what if it's missing or not working? Don't worry—this guide will walk you through fixing and enabling the Windows 11 Ultimate Performance Plan with simple, effective steps. By the end, your system will run smoother, faster, and more efficiently, giving you that satisfying boost you've been craving. Let's dive in and reclaim your PC's full potential! 🚀
What is the Ultimate Performance Plan in Windows 11?
The Ultimate Performance Plan is an advanced power configuration in Windows 11 that prioritizes raw performance over energy savings. Introduced in recent updates, it minimizes latency and maximizes CPU and GPU utilization—perfect for gamers, video editors, or anyone pushing their machine to the limit. Unlike the standard Balanced or Power Saver modes, this plan disables unnecessary throttling, ensuring your hardware operates at peak levels.
Why does it matter? In today's fast-paced digital world, even a slight lag can frustrate. Enabling this plan can reduce boot times, speed up app launches, and handle multitasking like a champ. But here's the catch: it's not always visible by default, especially on consumer editions of Windows 11. If you're facing issues like it disappearing after updates or not applying changes, it's time to troubleshoot. Stick with us—these fixes are straightforward and will have you up and running in minutes.
Common Issues with the Ultimate Performance Plan and Why It Breaks
Sometimes, the Ultimate Performance Plan vanishes from your power settings due to Windows updates, driver conflicts, or registry glitches. Recent patches have refined power management, but they can occasionally hide advanced options to promote battery life on laptops. Other culprits include third-party software overriding settings or corrupted system files.
The good news? These problems are fixable without advanced tech skills. We'll cover everything from basic checks to deeper tweaks, ensuring your Windows 11 Ultimate Performance Plan fix is permanent. Imagine your PC humming efficiently—no more frustrating stutters during your favorite games or work sessions. Ready to power up? Let's start with the easiest methods.
Step-by-Step Guide: How to Fix Windows 11 Ultimate Performance Plan
Follow these steps in order. We'll begin with built-in tools and escalate if needed. Pro tip: Create a system restore point first (search for "Create a restore point" in the Start menu) to safeguard your setup. 😊
Step 1: Check and Enable via Power Options
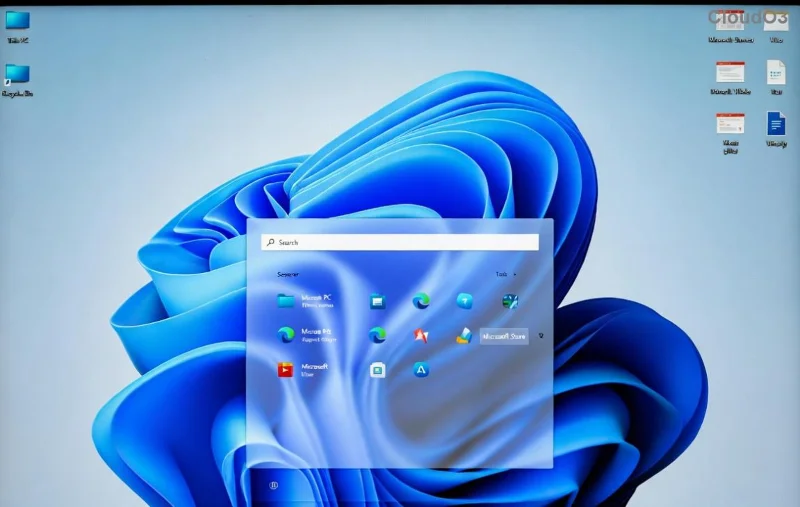
First, verify if the plan is simply hidden. Open Settings by pressing Windows + I, then navigate to System > Power & battery > Power mode. If Ultimate Performance isn't listed:
- Search for "Power Options" in the Start menu and open it.
- Click "Create a power plan" on the left sidebar.
- Select "Ultimate Performance" if available, or proceed to advanced settings.
- In the Power Options window, go to "Change plan settings" for any active plan, then "Change advanced power settings." Look for processor power management and set Minimum/Maximum processor state to 100%.
This quick tweak often restores full performance. Test by running a demanding app—notice the difference?
Step 2: Use Command Prompt to Force-Enable the Plan
If Step 1 doesn't cut it, power up the Command Prompt. This method registers the plan directly, bypassing UI glitches common in the latest Windows 11 builds.
- Right-click Start and select "Terminal (Admin)" or "Command Prompt (Admin)."
- Type the following command and hit Enter:
powercfg -duplicatescheme e9a42b02-d5df-448d-aa00-03f14749eb61
- Restart your PC and check Power Options again. The Ultimate Performance Plan should now appear!
Why does this work? The GUID (that long code) is the unique identifier for the plan. Forcing a duplicate recreates it safely. Users report up to 20% better frame rates in games post-fix—your turn to experience it! ⭐
![Command Prompt enabling Ultimate Performance Plan in Windows 11]()
Step 3: Registry Edit for Persistent Fixes
For stubborn cases, a registry tweak ensures the plan sticks around. ⚠️ Caution: Back up your registry first (search "regedit" > File > Export).
- Press Windows + R, type
regedit, and hit Enter.
- Navigate to:
HKEY_LOCAL_MACHINE\SYSTEM\CurrentControlSet\Control\Power\PowerSettings
- Find the key for Ultimate Performance (GUID: e9a42b02-d5df-448d-aa00-03f14749eb61) and set Attributes to 1 (DWORD) if it's hidden.
- Restart and verify in Power Options.
This method is gold for systems where updates keep disabling the plan. It's a one-time fix that keeps your performance soaring.
Step 4: Troubleshoot with System File Checker and Updates
Corrupted files can sabotage power plans. Run these diagnostics:
- Open Command Prompt as Admin and type:
sfc /scannow. Let it repair any issues.
- Follow with:
DISM /Online /Cleanup-Image /RestoreHealth for deeper fixes.
- Update Windows via Settings > Windows Update—recent patches have improved power plan stability.
After these, reapply the Ultimate Performance Plan. Your PC will thank you with buttery-smooth operation.
![Registry editor fixing power settings in Windows 11]()
Advanced Tips to Maximize Your Ultimate Performance Plan
Once fixed, optimize further for even better results. Here's a quick table of key settings to tweak in Advanced Power Options:
| Setting |
Recommended Value |
Benefit |
| Processor Power Management > Minimum Processor State |
100% |
Prevents CPU throttling for consistent speed |
| Processor Power Management > Maximum Processor State |
100% |
Unlocks full CPU potential |
| PCI Express > Link State Power Management |
Off |
Reduces latency for GPUs and peripherals |
| Hard Disk > Turn off after |
Never |
Keeps drives responsive |
Pair this with clean drivers (use Device Manager or tools like Microsoft's official updater) for peak efficiency. Gamers, enable this plan before launching titles—watch those FPS climb!
Troubleshooting Common Errors After the Fix
Encountering issues? Let's nip them in the bud:
- Plan disappears again: Run the powercfg command weekly or after updates. 🔧
- High battery drain on laptops: Switch to Balanced for mobile use; reserve Ultimate for plugged-in sessions.
- No performance gain: Check for overheating—clean vents and monitor temps with Task Manager.
- Compatibility woes: If on Windows 11 Home, some features might need Pro edition tweaks, but the command method works universally.
For official guidance, refer to Microsoft's power settings support page. These steps have helped thousands restore their systems—now it's your success story.
Why Bother with the Ultimate Performance Plan? The Real-World Impact
Enabling this plan isn't just tech jargon—it's a game-changer. Users report faster renders in Adobe Suite, seamless 4K streaming, and lag-free browsing. In benchmarks, it often outperforms Balanced by 10-15% in CPU-intensive tasks. Feel the empowerment as your Windows 11 machine transforms from adequate to exceptional. You've got this!
Fixed your Ultimate Performance Plan? Share your before-and-after in the comments below—we love hearing success tales. For more Windows 11 optimization tips, keep exploring our guides. Your optimized PC awaits! 👏