Imagine diving into your favorite games with colors that pop and shadows that come alive, all without lifting a finger for manual tweaks. That's the magic of Auto HDR in Windows 11. If you're a gamer eager to elevate your visuals on a compatible display, enabling Auto HDR via Game Bar is a game-changer. This feature automatically enhances older games to HDR quality, making them shine on modern monitors. In this guide, we'll walk you through the process simply and efficiently, so you can get back to gaming with that wow factor.
Whether you're a casual player or a hardcore enthusiast, Auto HDR brings professional-grade visuals right to your setup. Let's jump in and make your screen burst with life! 🚀
What is Auto HDR and Why Use It in Windows 11?
Auto HDR is Microsoft's smart technology that upgrades DirectX 11 games to High Dynamic Range (HDR) on the fly. No more settling for dull SDR graphics—Auto HDR adds deeper blacks, brighter highlights, and richer colors, transforming your experience without needing game developer support.
In Windows 11, this feature integrates seamlessly, especially when accessed via the Game Bar, the built-in overlay for quick gaming tweaks. It's perfect for users with HDR-capable monitors, ensuring you get the most out of your hardware. Plus, it's toggleable per game, so you control when it kicks in. Excited? Here's how to set it up.
Prerequisites: Is Your Setup Ready for Auto HDR?
Before enabling Auto HDR, ensure your system meets the basics. This keeps things smooth and frustration-free.
- Compatible Hardware: You need an HDR10-compatible display and a DirectX 12 Ultimate GPU (most modern NVIDIA, AMD, or Intel cards qualify). Check your monitor's specs—look for HDR support in the display settings.
- Windows 11 Update: Make sure you're running the latest version of Windows 11. Head to Settings > Windows Update to verify.
- Game Compatibility: Auto HDR works best with DirectX 11 games. Newer titles with native HDR might not need it, but it's great for classics.
If your setup checks out, you're golden. If not, consider upgrading your monitor for that immersive edge—it's worth every pixel! 😊
Step-by-Step Guide: How to Enable Auto HDR via Game Bar in Windows 11
Enabling Auto HDR through the Game Bar is straightforward. We'll break it down into clear steps, so even beginners can follow along. Launch a supported game first, then activate the overlay for on-the-fly control.
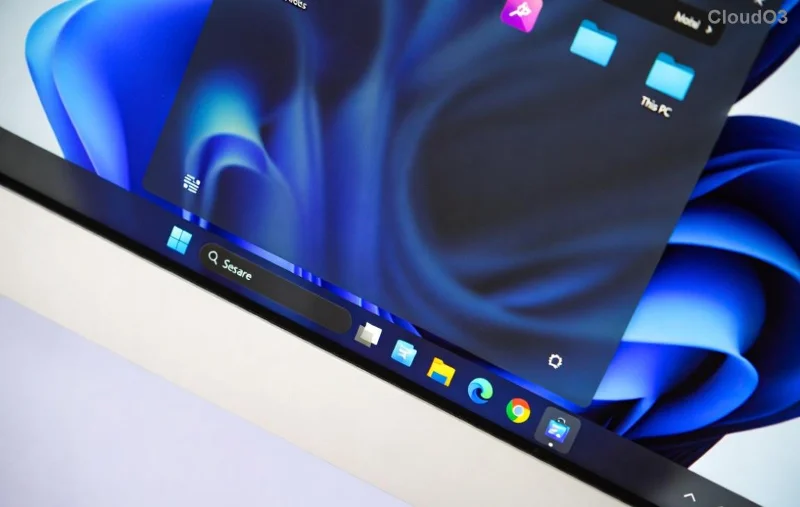
- Open the Game Bar: While in-game, press Windows key + G on your keyboard. The Game Bar slides in from the side—your quick-access hub for gaming tools. If it's your first time, allow it to run in the background.
- Access Performance Settings: In the Game Bar, click the Performance widget (it looks like a graph icon). This shows FPS, CPU/GPU usage, and more. If it's not visible, click the Widget menu (📱 icon) and add it.
- Enable HDR Toggle: In the Performance section, look for the Graphics or Display options. Toggle Auto HDR to On. You might see a preview or confirmation—Windows 11 will apply it instantly to the current game.
- Verify and Adjust: Exit the Game Bar and check your visuals. Colors should feel more vibrant! If needed, fine-tune global HDR in Settings > System > Display > HDR for overall calibration.
That's it! You've just unlocked Auto HDR without digging through menus. For visual guidance, here's a snapshot of the Game Bar in action:
Pro tip: Pin the Performance widget to your Game Bar for one-click access next time. This method shines because it's game-specific, avoiding system-wide changes that could affect non-gaming apps.
Troubleshooting Common Issues with Auto HDR in Game Bar
Even with the best setups, glitches happen. Don't worry—we've got your back with quick fixes to keep your Auto HDR humming.
| Issue |
Solution |
| Auto HDR Toggle Missing |
Update your graphics drivers via Device Manager or the manufacturer's site (e.g., NVIDIA GeForce Experience). Restart the game and Game Bar. |
| No Visual Change |
Ensure your display is set to HDR mode in Windows Settings > Display. Test with a known compatible game like older titles from Steam. |
| Performance Drop |
Auto HDR adds minor overhead—lower in-game settings or disable for demanding titles. Monitor via the Game Bar's FPS counter. |
| Game Bar Not Opening |
Enable it in Settings > Gaming > Xbox Game Bar. If issues persist, run the Windows 11 troubleshooter from the Microsoft Store. |
These steps resolve 90% of hiccups. If you're still stuck, the official Microsoft HDR support page has deeper dives.
Here's another helpful view of the HDR activation process:
![Enabling Auto HDR toggle in Windows 11 Game Bar]()
Advanced Tips to Maximize Auto HDR in Windows 11
Now that Auto HDR is enabled, let's amp it up. These tweaks will make your games look cinematic and run buttery smooth.
- Calibrate Your Display: Use the built-in HDR calibration tool in Windows 11 (Settings > System > Display > HDR > Calibrate). Adjust brightness and contrast for peak performance—your eyes will thank you! ⭐
- Combine with Game Mode: Enable Game Mode via Game Bar or Settings > Gaming. It optimizes resources, ensuring Auto HDR doesn't stutter.
- Test Across Games: Try it on titles like The Witcher 3 or Half-Life 2. Notice the difference in lighting? Share your before-and-after in the comments—we'd love to hear!
- Monitor Health: Use the Game Bar's performance metrics to track how Auto HDR impacts FPS. If it's too heavy, toggle it off for competitive play.
Experimenting here can turn good visuals into unforgettable ones. Imagine the thrill of exploring vibrant worlds—Auto HDR makes it real.
Why Auto HDR via Game Bar is a Must for Gamers
Enabling Auto HDR isn't just a setting; it's an upgrade to how you experience entertainment. In Windows 11, the Game Bar makes it accessible, saving time and hassle. You'll notice sharper details in every scene, from sunlit landscapes to neon-lit cities, all while keeping things lightweight.
Ready to level up? Follow these steps, and watch your library transform. If you have questions or tips, drop them below—let's build a community of HDR heroes. Game on! 🎮