Home
» How To
»
How to Clean a Breville Toaster Oven Without Damaging the Interior
How to Clean a Breville Toaster Oven Without Damaging the Interior
You open your Breville toaster oven and notice the usual combination: crumbs under the rack, greasy dots on the walls, a cloudy glass door, and maybe a faint burnt smell when the oven heats. The temptation is to reach for oven cleaner or start scrubbing hard. That is exactly where cleaning can go wrong.
Breville’s current guidance for its Smart Oven family emphasizes a gentler approach. The interior walls on many Breville toaster ovens have a nonstick coating, while the heating system can include quartz elements that need especially careful handling. Breville recommends soft cloths or sponges, mild or non-abrasive cleaners, and applying cleaner to the cloth rather than spraying it directly into the oven. The company also warns against standard oven cleaner on the interior and against abrasive pads or metal tools.
This guide moves from the easiest cleanup to the more stubborn areas. It applies broadly to Breville countertop toaster ovens and Smart Oven models, but accessories and exact care instructions can vary. Before deep cleaning, check your model number and compare this process with the instruction manual in Breville’s official Product Hub.
Why a Breville toaster oven gets dirty so quickly
A countertop oven concentrates heat in a small cavity. Crumbs can fall directly onto the crumb tray, cheese and oil can splatter onto interior walls, and grease mist can settle on the glass and stainless-steel exterior. Each new cooking cycle can heat that residue again, making neglected spots more stubborn.
The good news is that most messes do not require aggressive chemicals. Breville’s own toaster oven cleaning guide recommends regular light cleaning and a deeper clean as needed. It specifically calls for the oven to be unplugged and fully cool before cleaning.
What to gather before you start
A soft microfiber cloth or soft sponge
Mild dish soap or a non-abrasive liquid cleanser
Warm water
A sink or basin large enough for removable accessories
A soft plastic scouring pad only if your model manual allows it for the part you are cleaning
A dry towel or drying rack
Skip steel wool, metal scrapers, abrasive powders, and standard household oven cleaner. Breville’s manuals warn that abrasive tools can damage oven surfaces and accessory finishes. Its cleaning guidance also says not to use cleanser on quartz heating elements.
Step 1: Unplug the oven, let it cool, and empty the crumb tray
Turn the oven off, unplug it from the wall outlet, and wait until the oven and every accessory are completely cool. Do not begin while the oven is merely “warm enough to touch.” You will be reaching into a tight metal cavity around electrical components, so complete cooling is the safer starting point.
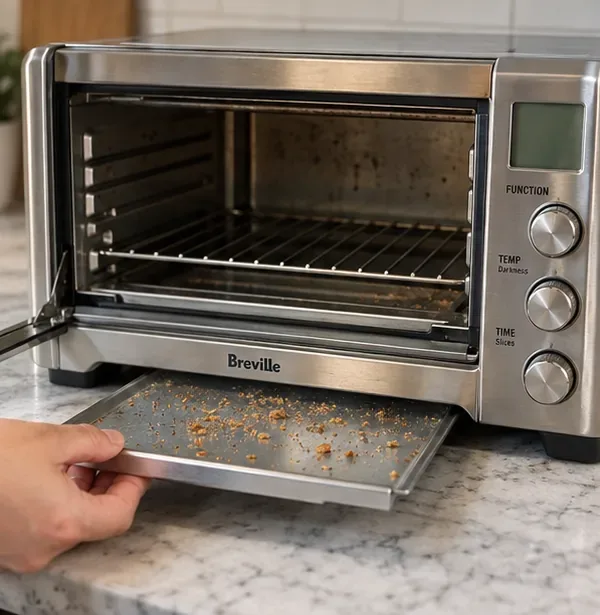
Slide out the crumb tray and dump loose crumbs into the trash. For routine cleaning, a soft damp sponge may be enough. If the tray has baked-on grease, Breville’s instructions for models such as the Smart Oven Compact Convection say to soak the tray in warm soapy water, then clean it with a soft sponge or soft plastic scouring pad, rinse, and dry it thoroughly.
Start with the removable crumb tray: discard loose debris first, then wash stubborn grease only after the oven is unplugged and fully cool.
For a light mess
Empty the tray, wipe it, dry it, and move on. This is the fastest way to keep crumbs from accumulating.
For baked-on grease
Soaking is preferable to hard scraping. Giving warm soapy water time to loosen the residue reduces the need for force, which helps protect the tray surface.
Step 2: Clean the interior walls from gentle to more targeted
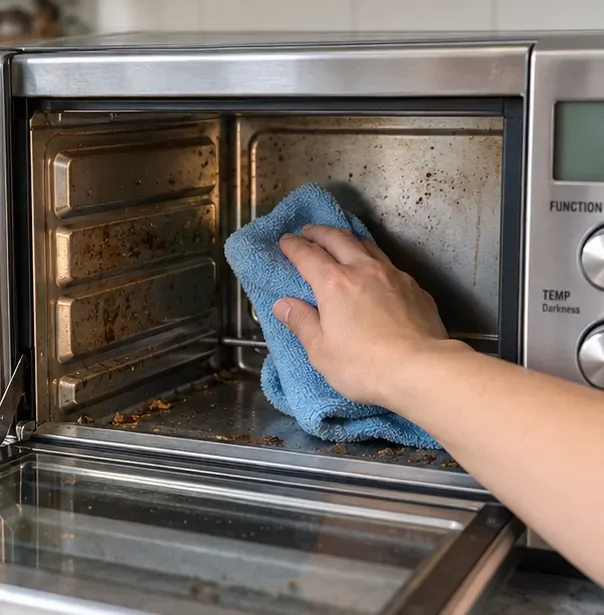
Remove the rack and pans so you can reach the walls. Start with a soft cloth or sponge dampened with water. Wipe loose crumbs and fresh spatters first. If marks remain, put a small amount of mild or non-abrasive cleaner onto the cloth or sponge—not directly onto the oven—and make another pass.
Breville’s official instructions say the interior walls on many Smart Oven models have a nonstick coating. That is why aggressive scrubbing is a poor tradeoff: it may remove a stain faster, but it can damage the finish you are trying to preserve.
Wipe the coated interior with a soft damp cloth, adding mild non-abrasive cleaner to the cloth only when water alone does not remove the splatter.
What about the quartz heating elements?
Treat them as a special case. For ordinary interior cleaning, avoid touching them. If a quartz element actually needs cleaning, Breville instructs users to let the oven cool completely and gently wipe along the length of the element with a soft damp cloth or sponge. Do not put cleanser, baking soda paste, multipurpose cleaner, or standard oven cleaner on the element.
If you see a cracked, chipped, displaced, or otherwise damaged heating element, stop cleaning and do not try to repair it yourself. Breville directs users to its support channels for maintenance beyond normal cleaning. You can locate your model and support options through the Breville Product Hub.
What if the interior has stubborn baked-on splatter?
Repeat gentle passes rather than escalating immediately to a harsh chemical. Dampen the cloth, apply a small amount of non-abrasive cleaner to the cloth if your manual permits it, wipe, and give the residue time to soften. Standard oven cleaner is not the shortcut to use here: Breville’s Smart Oven Compact Convection manual says it can deteriorate the metal surface.
Step 3: Hand-wash the rack, baking pan, and other removable accessories
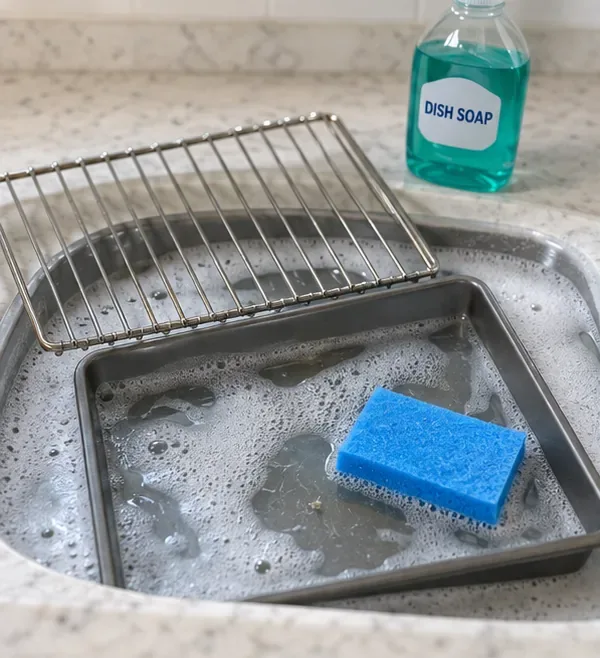
Wash removable racks and pans in warm soapy water with a soft sponge. For accessories with a porcelain-enamel or other finished surface, avoid metal scouring pads and metal utensils. Rinse thoroughly and dry before putting anything back into the oven.
Warm soapy water and a soft sponge are the safer default for removable racks and pans; soaking can loosen food without aggressive scraping.
Dishwasher compatibility is an area where model-specific instructions matter. Breville’s general cleaning article says skipping the dishwasher can help prolong the life of removable oven parts, and the Smart Oven Compact Convection manual specifically recommends hand washing its wire rack, broil rack, and baking pan. If your newer Breville model came with a different basket, rack, or tray, check that exact model manual rather than assuming every accessory has the same care rules.
Step 4: Clean the door, exterior, and controls, then let everything dry
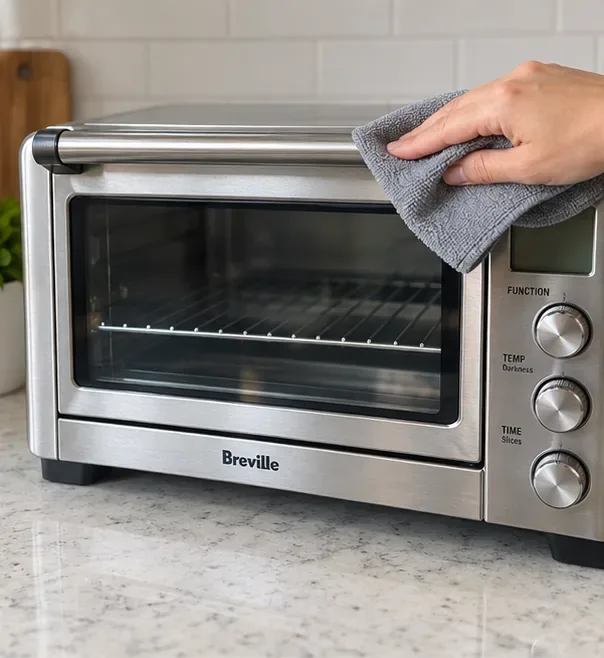
Wipe the outer body with a soft damp sponge or microfiber cloth. If you need a cleaner, apply it to the cloth rather than directly to the appliance. For the glass door, Breville permits glass cleaner or mild detergent on applicable Smart Oven models, used with a soft damp sponge or soft plastic pad. Avoid abrasive cleaner or metal scouring pads because they can scratch the surface.
For an LCD-equipped model, use a soft damp cloth. Breville specifically cautions against dry or abrasive cleaning on the LCD because it may scratch the surface. Keep liquids away from ventilation slots, the power cord, and the plug, and never immerse the oven body, cord, or plug in water.
Finish with the exterior and glass, using a soft cloth and keeping cleaner on the cloth rather than spraying liquid directly onto the appliance.
What not to use inside a Breville toaster oven
Cleaning method or tool
Why to avoid it
Safer alternative
Standard oven cleaner
Breville warns it can deteriorate interior metal surfaces
Mild or non-abrasive cleaner applied to a soft cloth
Steel wool or metal scouring pads
Can scratch coated, stainless, glass, or enamel surfaces
Soft sponge, microfiber cloth, or approved soft plastic pad
Metal scraper or knife
Can damage finishes and is especially unsafe around heating elements
Soak removable parts and use gentle repeated wiping
Cleaner sprayed directly into the cavity
Liquid can reach places you do not intend to wet
Apply cleaner to the cloth or sponge first
Cleaner on quartz elements
Breville says to use only a soft damp cloth or sponge when an element needs cleaning
Water-dampened soft cloth, with the oven unplugged and completely cool
How often should you clean it?
There is no single schedule that fits every kitchen. Breville suggests that a light weekly cleaning can help stay ahead of grime, while deeper cleaning depends on use. A better practical rule is to match cleaning to the mess:
After crumb-heavy foods: empty the crumb tray once the oven is cool.
After greasy or cheesy foods: wipe visible splatter before repeated heating bakes it on.
When the glass looks hazy: clean the door with a method allowed by your model manual.
When you notice smoke or a burnt-food smell: unplug and inspect for accumulated crumbs or food debris after the oven has cooled completely.
Regular small cleanups usually reduce the need for harder scrubbing later.
How to check your work before using the oven again
Do not judge the clean only by how shiny the stainless steel looks. Before plugging the oven back in, perform a simple functional check:
The crumb tray is clean, fully dry, and correctly reinserted.
The rack and pans are dry and seated normally.
No cloth fibers, crumbs, or food pieces remain near the heating elements.
The interior walls feel clean without a film of detergent.
The glass door closes normally and the hinges are unobstructed.
The exterior, controls, cord, and plug are dry.
No heating element appears cracked or damaged.
If all of those checks pass, reassemble the oven and plug it in. If you find damage to the power cord, plug, door, or heating elements, do not treat that as a cleaning problem; use Breville’s support resources instead.
Model-specific note: check the manual when the accessory or coating differs
Breville sells multiple toaster ovens and air-fryer ovens, so a generic guide should not override a model manual. The current Smart Oven Compact Convection support page, for example, links directly to its instruction manual and cleaning guides. The corresponding official BOV670 instruction manual specifies non-abrasive cleaning, careful treatment of quartz elements, soaking the crumb tray for baked-on grease, and hand washing the included rack and pans.
If your model number is different, use the same support hub to find the matching manual before putting an unfamiliar accessory in the dishwasher or using a cleaner not named in its care section.
The simplest safe routine
For most Breville toaster ovens, the safest cleaning strategy is also the least dramatic: unplug, cool, remove crumbs, hand-wash removable parts, wipe the coated interior gently, give quartz elements special treatment only when necessary, clean the glass and exterior with non-abrasive tools, and let everything dry completely. Tougher residue is a reason to soak or repeat a gentle pass—not a reason to reach immediately for harsher chemicals or metal scrubbers.