Home
» How To
»
How to Clean a Retainer Case: A Safe, Simple Routine That Actually Gets It Dry
How to Clean a Retainer Case: A Safe, Simple Routine That Actually Gets It Dry
There is no major new rule that changes how most people should clean a standard retainer case. Current orthodontic guidance still points to a simple goal: keep the case free of visible debris and residue, let it dry, and replace it when wear or persistent odor makes reliable cleaning difficult. The American Association of Orthodontists (AAO) specifically warns that an old or dirty case can harbor bacteria, while Invisalign's current case guidance says its standard cases should be hand-washed rather than put in a dishwasher.
That makes the best routine less about using the strongest possible cleaner and more about doing a gentle, repeatable job without damaging the case. The steps below are intended for ordinary plastic retainer cases. If your case contains electronics, a UV module, a mirror, a removable liner, metal hardware, or a material with special care instructions, follow the manufacturer's directions instead.
What you need
Lukewarm running water
A small amount of mild, preferably unscented liquid dish soap
A soft toothbrush or another small, soft cleaning brush reserved for the case
A clean towel or paper towel
A clean, dry place where the open case can air-dry
You do not need an aggressive disinfectant for routine cleaning. In fact, a stronger chemical is not automatically a better choice for something that directly contacts an oral appliance. The AAO advises avoiding bleach, alcohol-based mouthwash, and other harsh chemicals on retainers; for a case, compatibility still depends on the case material, so use the manufacturer's instructions if you want to go beyond mild soap and water. Review the AAO's current retainer-care guidance.
How to clean a retainer case step by step
1. Remove the retainer and inspect the case
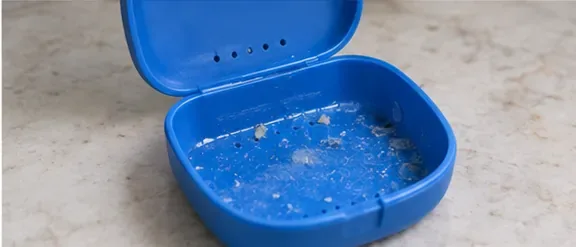
Take the retainer out before cleaning the case. Empty any loose debris and look at the bottom, lid, hinge, air vents, seams, and any textured liner. This quick inspection tells you whether you are dealing with ordinary dried saliva and lint or with a case that is cracked, warped, stained, or persistently smelly.
An open retainer case with visible debris inside. Start by removing the retainer and checking the base, lid, seams, and vents.
What success looks like: you know where residue is concentrated and whether the case is still physically sound. If the plastic is split, the hinge is broken, or the case has obvious wear that traps residue, plan to replace it rather than trying to restore it indefinitely.
2. Rinse with lukewarm water
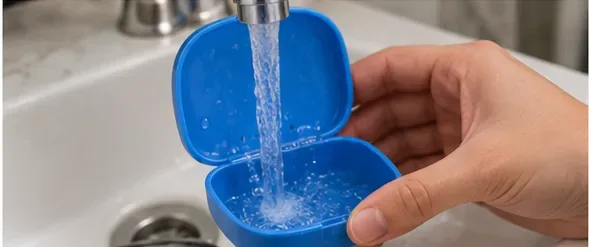
Hold the open case under lukewarm running water to loosen saliva film and small particles. Avoid very hot water. Heat can deform many plastics, and there is no cleaning benefit that justifies risking the fit or closure of the case.
Lukewarm running water helps remove loose residue before soap and brushing are added.
What success looks like: loose particles have washed away and the remaining film is easier to see. If water alone leaves a slick surface or odor, continue to the soap step rather than simply rinsing longer.
3. Wash the interior with mild soap and a soft brush
Add a small drop of mild liquid dish soap and gently brush the inside surfaces. Use light pressure. The objective is to lift residue, not to scour the plastic. A dedicated soft brush is useful because the case has corners and texture that fingers may miss.
A soft brush and mild soap clean the broad interior surfaces without relying on abrasive scrubbing.
Spend a little extra time anywhere you see a cloudy or sticky film. If the case has a removable liner and the manufacturer says it can be removed, clean that component according to its own instructions.
4. Clean the hinge, seams, and ventilation holes
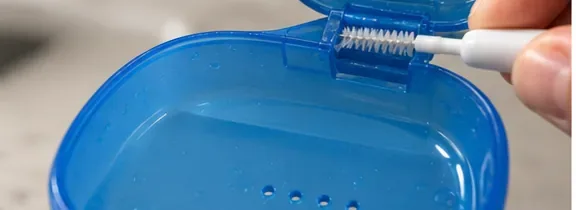
Residue can collect where the lid joins the base and around small ventilation openings. Use the tip of the soft brush to reach these areas. Do not force a rigid tool into a hinge or hole; gouges and scratches can create new places for residue to collect.
Use a small soft brush around the hinge and other narrow areas where film can be harder to reach.
When to change approach: if material remains lodged in a seam that cannot be accessed without damaging the case, replacement may be more practical than increasingly aggressive scraping.
5. Rinse thoroughly
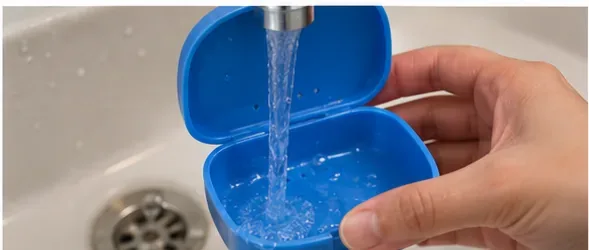
Rinse the case under lukewarm water until no visible suds remain and the surfaces no longer feel slippery. This step matters because soap residue can transfer to the retainer and leave an unpleasant taste or film.
Rinse all soap away, including from the hinge and ventilation holes.
What success looks like: the water runs clear, there are no bubbles hiding in corners, and the plastic feels clean rather than slick.
6. Remove excess water
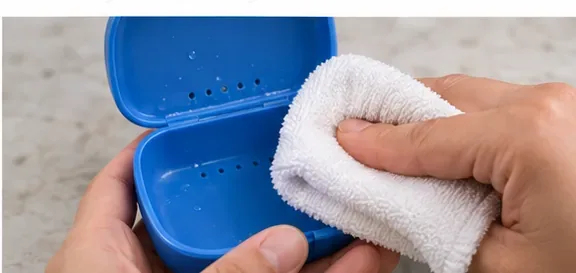
Shake off water, then blot the outside and easy-to-reach surfaces with a clean towel if needed. Avoid pushing a damp cloth deep into a narrow hinge where lint may catch. You are not trying to polish the case dry; you are simply shortening the time it stays wet.
Blot excess water with a clean cloth after rinsing so the case can finish drying more quickly.
7. Leave the case open to air-dry completely
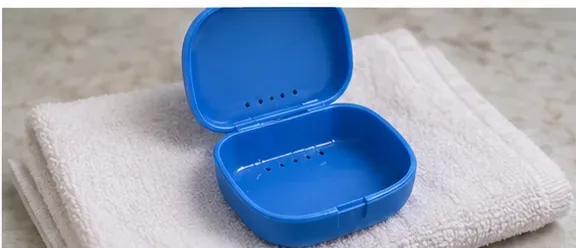
Set the case open in a clean, dry location with airflow. Do not immediately close a wet case around a freshly cleaned retainer. Invisalign notes that its standard aligner cases include ventilation near the hinge, which illustrates why airflow matters during storage. See Invisalign's official case design and care information.
Leave the cleaned case open until it is dry rather than sealing moisture inside.
What success looks like: the corners and hinge area are dry to the touch and no stale smell appears when the lid has been open for a while.
8. Inspect before putting the retainer back
Once dry, look and smell again. A clean case should have no visible residue and should not have a persistent unpleasant odor. The AAO advises replacing a retainer case when it has visible cracks or wear, continues to smell after cleaning, or has simply been in service for a few months. Because case materials and durability differ, consider that a practical replacement cue rather than a universal expiration date. See the AAO's retainer-case replacement guidance.
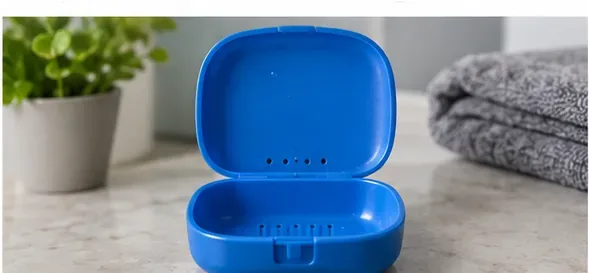
A finished case should be visibly clean, dry, intact, and free of a persistent odor before the retainer goes back inside.
How often should you clean a retainer case?
There is not one universal schedule for every case material and wearer. A useful baseline is to rinse away obvious residue promptly and give the case a proper soap-and-water wash regularly enough that film, debris, or odor never becomes established. If your retainer is stored in the case several times every day, cleaning the case every day or every few days is reasonable; if it stays visibly clean and dry, a less frequent routine may be adequate.
The more important measure is the result. Increase the cleaning frequency if you see film, crumbs, dried saliva, or recurring odor. A clean retainer placed into a dirty case can pick contamination back up, which is why the AAO specifically flags dirty cases as a problem.
Should you put a retainer case in the dishwasher?
Not unless the manufacturer explicitly says the case is dishwasher-safe. Invisalign's current instructions for its standard aligner cases recommend hand-washing and state that the cases are not designed for dishwasher use. Dishwashers combine heat, strong detergent, and mechanical exposure, all of which may be unsuitable for some thermoplastics, hinges, magnets, liners, or printed finishes.
If you do not know the case material, hand-washing with lukewarm water and mild soap is the lower-risk default.
What about vinegar, hydrogen peroxide, bleach, or cleaning tablets?
These products are often discussed for cleaning retainers themselves, but the case is a separate object made from its own materials. Do not assume that a solution approved for a retainer is automatically approved for its case. Magnets, adhesives, soft-touch liners, printed decorations, and electronic components may react differently.
For routine care, mild soap and water are enough to remove ordinary soil. If a case has stubborn odor or visible contamination that returns after cleaning, replacing the inexpensive case is usually more predictable than experimenting with stronger chemicals. If the case is part of a powered UV or ultrasonic device, use only the cleaning method in that device's manual.
Common mistakes that make a clean case dirty again
Putting a dirty retainer into a clean case. Clean the oral appliance according to your orthodontist's instructions as well as cleaning the case.
Closing the case while it is still wet. Give moisture a chance to evaporate before storage.
Using the same brush for multiple dirty jobs. Keep a small soft brush dedicated to the retainer and case, or clean the brush thoroughly between uses.
Ignoring the hinge and vents. Flat surfaces are easy; seams are where residue is more likely to remain.
Trying to save a damaged case indefinitely. Cracks, deep scratches, broken hinges, warped lids, and odors that survive washing are signs that replacement may be the better solution.
A simple quality check before you finish
Do not judge the job only by whether you completed the steps. Check the result. The case should be visibly free of debris and film, fully rinsed, dry before closure, structurally intact, and free of persistent odor. If one of those checks fails, repeat the relevant cleaning step once. If the problem persists—especially odor trapped in worn material or residue inside damaged seams—replace the case.
That is the practical limit of home cleaning: it can remove routine soil from a sound case, but it cannot restore damaged plastic or guarantee sterilization. When your orthodontist or case manufacturer gives instructions that differ from a general routine, their product-specific advice should take priority.