Home
» How To
»
How to Clean a Stained Dry-Erase Board: Best Methods by Stain and Surface
How to Clean a Stained Dry-Erase Board: Best Methods by Stain and Surface
A stained dry-erase board does not always need a stronger cleaner. The better first question is what kind of stain is on the board, and what surface are you cleaning? Fresh dry-erase residue, ghosting, old marker, permanent marker, and film from a dirty eraser can look similar, but they do not call for the same treatment.
For most boards, start with the least aggressive method: erase loose ink, use a manufacturer-approved board cleaner or another cleaning method specifically permitted for that surface, wipe with a soft microfiber cloth, and dry the board completely. Escalate only when the stain remains. That approach matches current manufacturer guidance from Quartet's dry-erase board maintenance instructions and helps avoid turning a cosmetic stain into permanent surface damage.
Quick answer: choose the method by stain and board surface
Situation
Best first choice
Main tradeoff
Fresh dry-erase ink or dusty residue
Clean eraser or dry microfiber cloth
Safest and fastest, but not strong enough for set-in ghosting
General ghosting or old dry-erase haze
Manufacturer-approved whiteboard cleaner, then dry thoroughly
Broadly useful when approved, but product compatibility still depends on the surface
Light soil on a board whose maker permits water cleaning
Soft damp cloth
Low chemical exposure, but may leave stubborn ink behind
Old or stubborn erasable marks
Fresh dry-erase marker over the old mark, then erase and clean
Targeted and low-risk on compatible boards, but may take more than one pass
Permanent marker
Try the fresh dry-erase-marker-over-marker method first if your manufacturer recommends it
Avoids jumping straight to strong solvents, but removal is not guaranteed
Alcohol or stronger household products
Only when the board manufacturer explicitly allows them
Can work on some surfaces, but guidance differs significantly by brand and board construction
First determine whether you are dealing with fresh dry-erase ink, old ghosting, or a different marker before choosing a cleaner.
Why the board material changes the answer
Dry-erase boards are not all made from the same writing surface. Common products include melamine, painted steel, porcelain or enamel steel, and glass. Their resistance to staining, scratching, and chemical cleaners can differ. This is why one manufacturer's approved routine should not automatically be applied to another manufacturer's board.
For example, Quartet advises against general household cleaners on its whiteboards and glass boards, recommending its board-specific cleaners instead. Its support guidance also says standard whiteboard cleaner can be used on several common whiteboard surfaces, while its glass boards have separate cleaning recommendations. See Quartet's product FAQ and troubleshooting guidance.
Ghent's care instructions are broader for several of its own surfaces: they allow general cleaning with a soft wet cloth and, when needed, whiteboard cleaner; their cleaning and disinfecting instructions also list isopropyl alcohol among compatible disinfectants for specified products. That does not make rubbing alcohol a universal whiteboard cleaner. It shows why checking the manufacturer and model matters. See Ghent's cleaning and disinfecting instructions.
Step 1: Erase first and inspect what remains
Start with a clean whiteboard eraser or a dry microfiber cloth. Remove all loose dry-erase ink and dust before adding liquid. If a dirty eraser smears gray or colored residue across the board, clean or replace the eraser before judging the surface.
After dry erasing, look at the remaining marks. A light colored haze is usually ghosting or residue. A sharp line that refuses to erase may be old ink or permanent marker. If the surface itself looks dull, scratched, or uneven rather than simply stained, more scrubbing may not solve the problem.
Quartet specifically notes that erasers can accumulate residue and begin spreading it across the board. Its maintenance guidance recommends washing a washable microfiber eraser component or replacing the eraser when cleaning no longer restores performance.
Step 2: Pick the least aggressive cleaner that fits your board
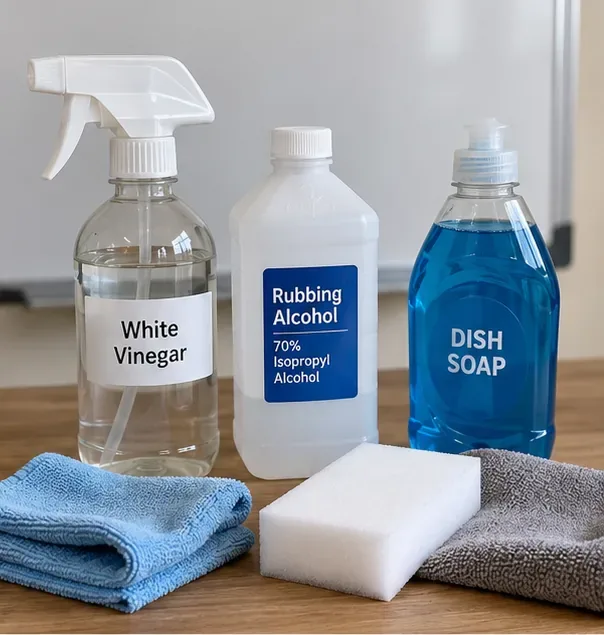
Common cleaning options vary in aggressiveness. Do not treat vinegar, alcohol, detergent, or cleaning sponges as interchangeable; use only what your board manufacturer approves.
Option A: A dedicated whiteboard cleaner
This is the best default when you know the cleaner is approved for your board. It is designed for dry-erase residue and reduces the guesswork that comes with multipurpose household products. The downside is cost and the need to confirm that the cleaner matches the board material, especially for glass or specialty surfaces.
Quartet's recommended routine is straightforward: erase the board, apply the cleaning solution, wipe it away with a dry towel, then use a second dry towel so no cleaner remains on the writing surface. That final drying step matters because leftover cleaning solution can mix with marker ink during later use and make erasing harder.
Option B: Water and a soft cloth
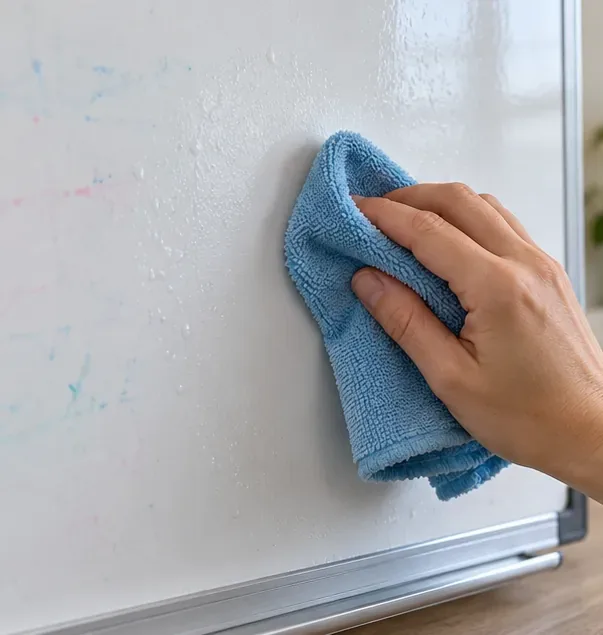
If the manufacturer permits it, a soft damp microfiber cloth is a gentle choice for dust, light residue, and routine cleaning. Ghent lists a soft wet cloth for general cleaning on several of its whiteboard and glassboard products. The tradeoff is cleaning power: water alone may not remove set-in marker film.
Option C: Isopropyl alcohol or other stronger cleaners
Alcohol can be compatible with some board surfaces, but it should be a conditional choice rather than an automatic next step. Ghent identifies isopropyl alcohol as compatible for certain products in its cleaning and disinfecting guidance. Quartet, meanwhile, tells owners not to use general household cleaners on its boards. When two reputable manufacturers publish different compatibility guidance, the safest practical rule is to follow the documentation for the board you actually own.
If your board brand or model is unknown, a dedicated whiteboard cleaner is usually the more conservative escalation path. If documentation specifically permits alcohol, use it only as directed and avoid leaving liquid on seams, frames, or damaged areas.
What about abrasive cleaning sponges?
Do not assume a stronger scrub pad is safe just because a stain is stubborn. Surface-specific products exist for a reason. Legamaster, for example, describes its more intensive MagicWipe as being for enamel steel boards only in its whiteboard cleaning and maintenance instructions. If your board's documentation does not approve an abrasive or specialty pad, skip it.
Step 3: Treat stubborn marker selectively instead of scrubbing the whole board
If ordinary cleaning leaves a few stubborn lines, treat those marks rather than repeatedly attacking the entire surface. Both Quartet and Ghent describe a useful technique for old or non-erasing marks: write over the stubborn line with a fresh dry-erase marker, then erase it.
Quartet specifically suggests tracing over accidental permanent-marker writing with a fresh dry-erase marker, waiting a few minutes, and wiping the ink away. This may help because the fresh erasable ink can loosen or mingle with the old mark, but the manufacturer also notes that stains left for a long time may not come out completely.
Work on stubborn residue with a soft cloth and an approved cleaner rather than increasing pressure or scrubbing the entire board aggressively.
For a small permanent-marker line, try the over-marker method before reaching for a strong solvent. For a large permanent-marker area, specialty surface, printed board, or board with a damaged finish, check the maker's care instructions first. Printed graphics and coatings can have different chemical resistance from an unprinted writing surface.
Step 4: Dry the board completely before testing it
Once the visible stain is gone, wipe away all remaining cleaner and moisture with a clean, dry microfiber cloth or soft towel. Quartet recommends a second dry towel to make sure no cleaning solution remains.
Then test a small area with a known-good dry-erase marker. Write a short line, allow the ink to dry normally, and erase it. If it wipes away cleanly, your cleaning method has restored normal use. If the new ink immediately smears, sticks, or leaves a pronounced shadow, repeat only the manufacturer-approved cleaning step rather than moving automatically to a harsher chemical.
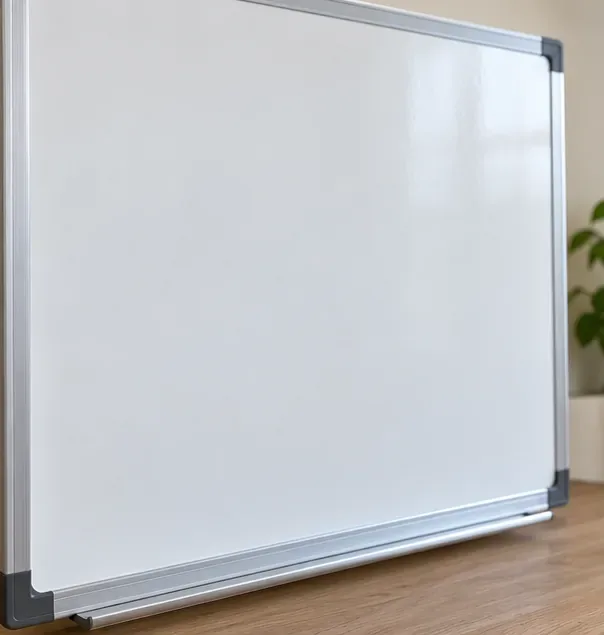
Finish with a dry surface. A fully clean, dry board should be ready for a small erase test before returning to normal use.
Which method should you choose?
For a classroom or office board with ordinary ghosting: use a clean eraser, then a board-specific cleaner approved for the surface, followed by thorough drying. This offers the best balance between cleaning power and surface protection.
For a board with only light dust or residue: dry microfiber cleaning may be enough. If the manufacturer permits damp cleaning, water and a soft cloth are the lowest-complexity next step.
For one or two old marker lines: try a fresh dry-erase marker over the stubborn marks before applying a stronger cleaner to the whole board.
For accidental permanent marker: use the dry-erase-over-permanent-marker technique if your board manufacturer recommends it. Escalate to specialty products only when they are approved for your surface.
For a board with unknown surface material: avoid improvised solvents, abrasive pads, and aggressive scrubbing. Look for a model label or manufacturer documentation first. If you cannot identify the board, use the gentlest compatible method you can verify and test it on a small, inconspicuous area.
Common mistakes that make stains worse
Using a dirty eraser: it can redistribute ink dust instead of removing it.
Assuming alcohol is always safe: some manufacturers permit it for certain products, while others direct users toward dedicated board cleaners.
Using the same cleaner on glass, melamine, painted steel, and porcelain: surface-specific care instructions can differ.
Scrubbing harder instead of changing method: more pressure is not a substitute for a compatible cleaner.
Leaving cleaner on the board: residual solution can interfere with later marker performance, so dry thoroughly.
Leaving writing up for long periods: manufacturers including Ghent and Quartet note that old marks become harder to remove.
How to keep a dry-erase board from staining again
Erase the board after use rather than leaving writing for weeks. Keep markers capped so the ink remains fresh and easier to erase. Clean or replace erasers once they start spreading residue. For frequently used boards, schedule occasional manufacturer-approved wet cleaning instead of waiting until ghosting becomes severe.
The most useful rule is simple: match the cleaner to the board, not just to the stain. A dedicated cleaner is often the best general-purpose choice, water may be enough for light residue on compatible surfaces, and stronger solvents or specialty pads should be reserved for boards whose manufacturers explicitly permit them. That tradeoff-first approach removes stains without taking unnecessary risks with the writing surface.