Home
» How To
»
How to Clean an HP Printer Head: Safe Steps to Restore Print Quality
How to Clean an HP Printer Head: Safe Steps to Restore Print Quality
You print a document and the page comes out with white streaks, broken lines, faded color, or a missing color block. It is tempting to open the printer immediately and wipe whatever looks like the printhead. With an HP inkjet printer, that is usually not the best first move. Many print-quality problems can be corrected with the printer’s built-in cleaning routine, and the physical printhead design varies widely across HP families.
The safest approach is to move from low-risk checks to deeper cleaning only when the evidence points that way. HP’s current support guidance for several consumer inkjet families follows that same pattern: print or review a quality test, run the automated printhead cleaning tool, inspect the result, and escalate only if the defect remains. HP also warns that cleaning uses ink, so it should be done when print quality actually indicates a need.
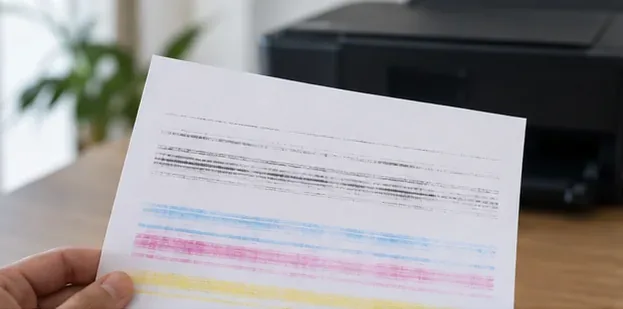
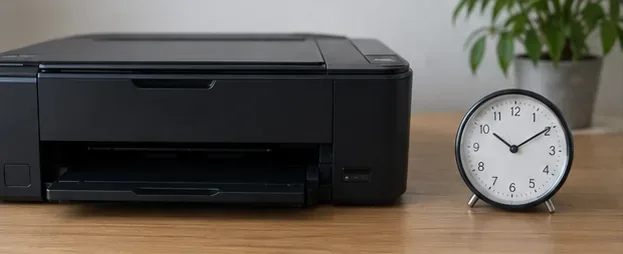
Streaks, broken black lines, and faded color bands are the kinds of symptoms that justify a print-quality check before deeper cleaning.
Why an HP printer head may seem clogged
A true clog happens when ink does not flow cleanly through one or more nozzles. Dried ink after a period of inactivity can contribute, but a “clogged head” is not the only explanation for poor output. Low or depleted ink, an improperly seated cartridge, alignment problems, unsuitable paper, incorrect print settings, or ink smears around a cartridge area can create similar symptoms.
What you see
What it may indicate
Best first action
White lines through color blocks or missing color
Blocked nozzles or an ink-delivery problem
Print a diagnostic page, then run automatic cleaning if defects are confirmed
Text or graphics are shifted or lines are not straight
Alignment problem
Run printhead or cartridge alignment
Smears or track marks
Ink around the cartridge/nozzle area or paper path
Use the model-specific smear/nozzle-area procedure rather than repeated head cleaning
Blank or nearly blank output
Empty ink, cartridge recognition, ink system, or severe flow issue
Check supplies and printer status before assuming the head is clogged
How to clean an HP printer head, from easiest to hardest
1. Start with plain paper and the printer’s status
Load clean, unused plain white Letter or A4 paper. Confirm that the printer is on, not displaying an ink-system or cartridge error, and has enough ink to run a maintenance cycle. Do not begin by removing cartridges or a printhead. A maintenance print is more useful because it shows whether the defect is actually in the nozzle pattern.
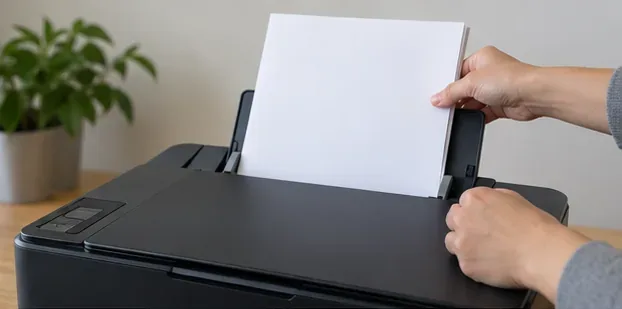
Load plain white paper before running diagnostic, cleaning, or alignment pages so defects are easier to judge.
2. Print a Print Quality Diagnostic page or report
On many current HP models, the diagnostic page is available through the HP app, the printer control panel, or the printer’s Embedded Web Server. The exact menu labels vary by model. HP’s consumer support instructions commonly direct users to Diagnostics or Tools, then Print Quality Tools or Printer Reports. A model-specific HP page is the authority for your printer.
Look for missing colors, fading, white gaps in solid blocks, or broken line patterns. HP describes the diagnostic report as a way to distinguish clogging and alignment problems. See HP’s current print-quality troubleshooting and cleaning guidance for an example of this workflow.
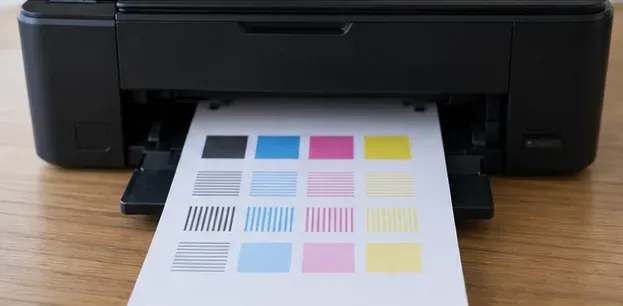
A diagnostic sheet gives you a baseline before cleaning, so you can tell whether the maintenance cycle actually improves the nozzle pattern.
3. Run the automatic printhead cleaning tool
If the diagnostic page shows streaked, faded, or missing areas, use the printer’s automatic cleaning function. On supported models, open the HP app, select the printer, then look under Diagnostics or Tools for Print Quality Tools and choose Clean Printhead or Clean. Some HP printers expose the same function from the control panel instead.
HP’s current Smart Tank instructions, for example, use a control-panel path that includes Tools, Troubleshooting, Print Quality, and Clean Printhead on supported models. The exact path is not universal, so follow the wording shown by your printer or its support page. You can compare with HP’s Smart Tank print-quality troubleshooting instructions.
Let the cycle finish. The printer may print a test page automatically. Do not interrupt power during the maintenance process.
4. Inspect the new test page before doing anything else
Compare the new page with your baseline. If the color blocks are solid and the line patterns are complete, stop. More cleaning is not automatically better. HP notes that cleaning consumes ink, and deeper cleaning levels use progressively more ink.
After cleaning, check whether missing lines and faded blocks have improved before starting another maintenance cycle.
5. If the clog remains, use the next cleaning level and allow recovery time
Some HP app workflows offer second-level and third-level cleaning when the first pass does not restore quality. Use those only when the test page still shows defects. HP’s current consumer support guidance says a badly clogged printhead might require another cleaning cycle and advises waiting at least 30 minutes before cleaning again in that situation.
That waiting period matters because immediately repeating cleaning cycles can waste ink without giving the system time to stabilize. If one color remains completely absent, also verify that the corresponding cartridge or tank has ink and is recognized correctly.
If HP’s troubleshooting flow calls for another cleaning cycle on a badly clogged head, allow the recommended waiting period instead of running cycles back-to-back.
6. Align the printhead or cartridges if lines are not straight
Cleaning and alignment solve different problems. If the diagnostic pattern shows lines that are not straight or connected, alignment may be the correct next step. On supported HP models, Align Printer or Align Printheads appears under Print Quality Tools, Alignment and Maintenance, or a similar control-panel menu.
Some all-in-one HP printers print an alignment page that must be placed on the scanner glass to complete the process. Follow the instructions printed on the page or shown on the display. HP documents this scan-to-finish workflow for several consumer models, including in its DeskJet, ENVY, and OfficeJet print-quality support guidance.
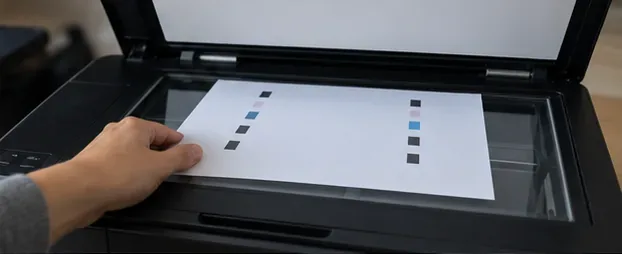
On models that require it, place the printed alignment sheet on the scanner glass exactly as the printer’s instructions specify.
7. Consider manual cleaning only when HP documents it for your exact model
This is the point where generic advice becomes risky. HP printers do not all use the same printhead construction. Some consumer models use cartridges with the nozzles built into the cartridge; some tank printers have removable printheads; other product lines use assemblies that should not be handled casually.
For certain cartridge-based consumer printers, HP instructs users to clean only the face and edges around the ink nozzle when the diagnostic output specifically shows smears or track marks. In that procedure, HP calls for a lint-free cloth or swab lightly dampened with distilled, filtered, or bottled water and warns not to clean the nozzle plate itself. HP also says to let the cleaned area dry before reinstalling the cartridge. That model-specific method is described in HP’s consumer inkjet nozzle-area cleaning instructions.
Do not improvise with alcohol, household cleaners, compressed air, or soaking unless HP’s instructions for your exact printer explicitly call for that method. Different HP product families give different service procedures. If your printer has a removable printhead, search the model number on HP Support and follow that product’s removal and cleaning steps rather than a generic video.
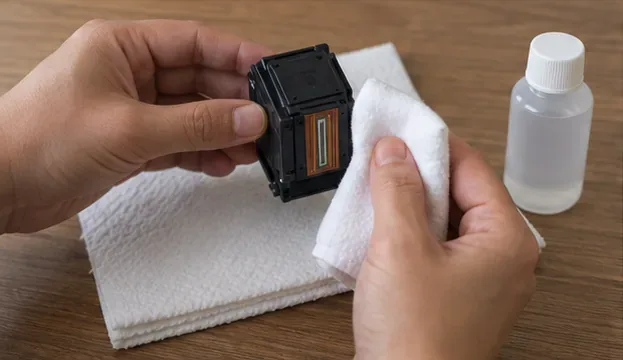
Manual cleaning is a model-specific escalation step: use a lint-free material and only the fluid and contact areas specified by HP for your exact printer.
8. If cleaning does not restore the pattern, stop escalating and diagnose the failed part
After the supported cleaning levels and alignment are complete, print another diagnostic page. If the same color is still missing, the issue may be a depleted or faulty cartridge, an ink-delivery problem, or a printhead that needs replacement rather than more cleaning. HP’s diagnostic guidance for several printer families moves from cleaning to cartridge or printhead replacement when the defect persists.
For printers with replaceable printheads, use the exact part and replacement instructions for the model. For printers where the printhead is not a routine user-replaceable part, contact HP or an authorized service provider rather than disassembling the carriage. HP’s printhead troubleshooting guidance for removable-head systems also emphasizes that manual printhead work is delicate and can damage the part.
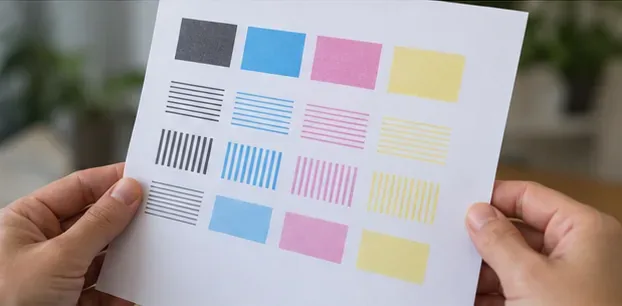
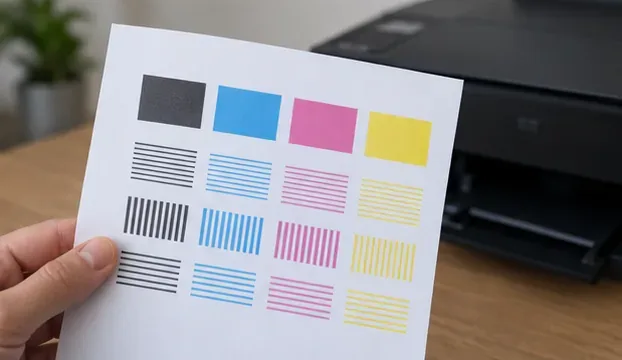
A successful result shows complete line patterns and solid color blocks without the gaps or fading seen on the original test page.
How to tell whether the cleaning worked
Use the final diagnostic page as your self-check instead of judging only one photo or text document. Compare it with the page you printed before cleaning. A good result should show the same colors present throughout the test, fewer or no white gaps in solid blocks, and clean, continuous line patterns. If the printer also had an alignment issue, the relevant lines should be straight and properly connected after alignment.
Stop cleaning when the diagnostic pattern is clean and ordinary documents print normally.
Run alignment if colors print but line geometry is still wrong.
Check ink supply or cartridge status if a color remains completely absent.
Use model-specific manual cleaning only when HP’s support page instructs it for the exact symptom and hardware.
Replace or service the failed component if supported cleaning and alignment do not change the diagnostic defect.
Ways to reduce future printhead problems
Use the printer regularly enough that ink does not sit unused for long periods, keep the printer powered down using its normal Power button rather than abruptly cutting power, and store paper in a clean, dry place. Avoid unnecessary cleaning cycles; they consume ink and are intended for actual print-quality defects. If the printer will be unused for an extended period, follow the storage guidance in the model’s manual rather than removing cartridges or printheads without instructions.
The key is to diagnose first and clean second. On an HP inkjet, the automatic maintenance routine is the safest starting point, while manual contact with a printhead or cartridge should be reserved for the procedures HP specifically documents for that printer. That approach gives you the best chance of restoring clear output without turning a routine print-quality problem into hardware damage.