Home
» How To
»
How to Clean Oven Trays Without Damaging the Surface
How to Clean Oven Trays Without Damaging the Surface
A good oven-tray cleaning job does not necessarily make an old tray look factory-new. The useful target is simpler: no loose food, no greasy or sticky film, no lingering burned residue that transfers to a cloth, and no new scratches or coating damage caused by cleaning. Darkened bare metal can still be serviceable, while a shiny tray can still be greasy.
The safest route depends on the tray material. Bare aluminum, stainless steel, nonstick-coated steel, ceramic-coated bakeware, and seasoned cast iron need different treatment. Start with the least aggressive method that removes the residue, then escalate only if the tray manufacturer allows it.
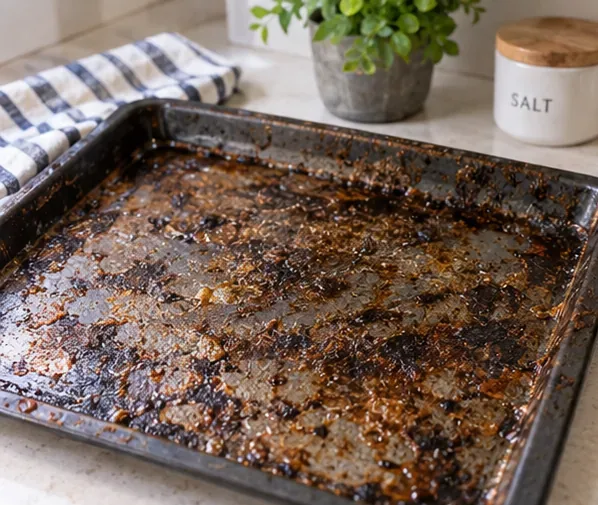
Start by judging the residue, not the color alone. The cleaning goal is to remove food and grease without damaging the tray surface.
What result should you aim for?
Before choosing a cleaner, decide what “clean” means for this particular tray. After washing and drying, run clean fingertips or a white paper towel over a small area. The surface should not feel tacky, oily, gritty, or leave food residue behind. Corners and rolled rims should not hold softened crumbs. The tray should be completely dry before storage.
Cosmetic discoloration is a separate issue. Nordic Ware states that dishwasher discoloration of its natural aluminum bakeware does not affect baking properties, and that scouring pads can scratch the surface. That is a useful reminder not to trade a functional surface for a brighter appearance. Nordic Ware aluminum bakeware care instructions.
Step 1: Let the tray cool and identify the surface
Let the tray cool before washing. A sudden temperature change can warp some metal bakeware; All-Clad specifically advises allowing stainless bakeware to cool before cleaning, and Le Creuset warns against plunging hot nonstick bakeware into cold water.
Then identify the material or coating. If you still have the packaging or model number, check the maker's care page. If you are unsure whether a dark tray is coated, treat it as coated and use the gentler option until you can confirm.
Bare aluminum: usually silver-colored, lightweight, and uncoated.
Stainless steel: silver-colored and typically heavier, with a harder, less reactive surface.
Nonstick or ceramic-coated: often dark or colored with a smooth applied finish.
Seasoned cast iron or carbon steel: dark metal maintained with a seasoning layer rather than a synthetic coating.
Step 2: Remove loose debris, then use warm soapy water
Tip off crumbs and wipe away loose grease with a paper towel or soft cloth. Avoid digging at stuck food with a knife or other sharp metal edge, especially on coated trays.
For stainless steel, All-Clad recommends rinsing away excess food, soaking in warm soapy water when needed, then washing with a sponge or soft cloth. For many coated trays, warm water and dish soap are also the correct first pass, but prolonged soaking is not universally recommended. Seasoned cast iron is the major exception: Lodge advises against soaking because moisture can promote rust.
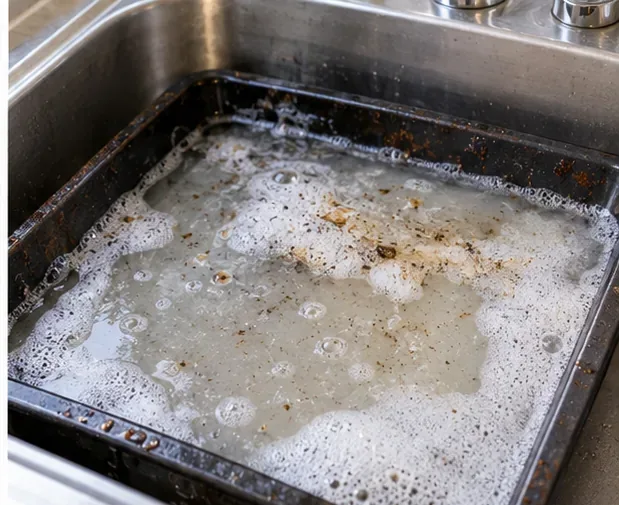
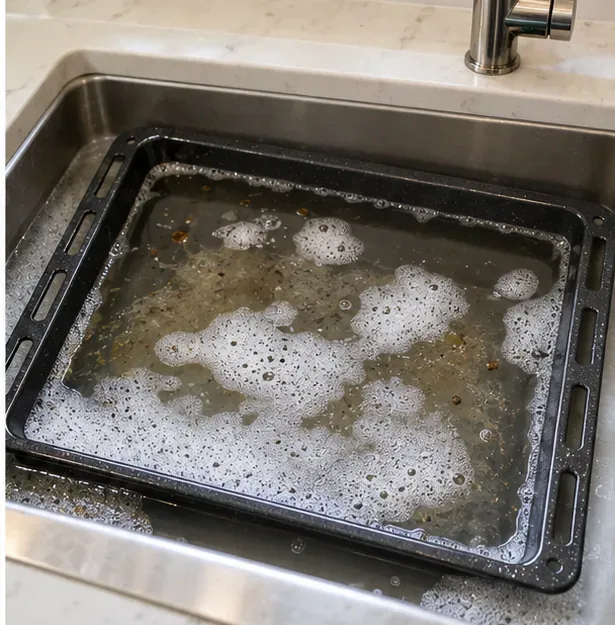
Warm soapy water can soften residue before scrubbing. Use a true soak only when the tray maker permits it; seasoned iron should not be left submerged.
Step 3: Choose the softest tool that can do the job
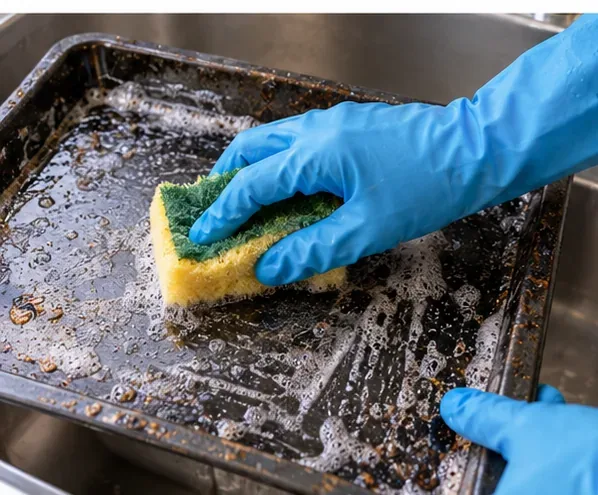
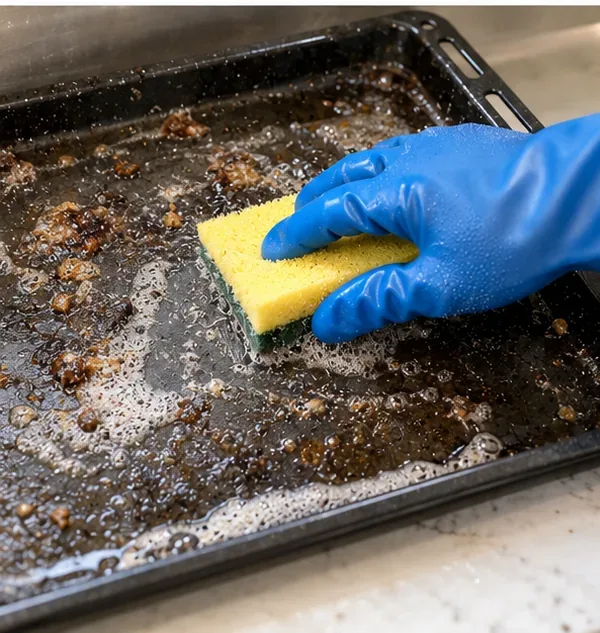
Start with the soft side of a sponge, a soft cloth, or a non-scratch pad. The purpose of scrubbing is to lift softened residue, not to grind the surface until every stain disappears.
Coated bakeware deserves extra caution. Le Creuset's nonstick bakeware guidance says not to use metal or harsh washing pads, brushes, or abrasive cleaning agents. All-Clad gives similar advice for its Pro-Release bakeware. If a tray is coated, stop if you see fresh dull patches, scratches, or flaking.
A coarse scouring surface can be too aggressive for nonstick or ceramic-coated trays. Use the soft side or a manufacturer-approved non-scratch pad unless the care instructions explicitly allow more abrasion.
Step 4: Wash the whole surface, including rims and corners
Work systematically from one end to the other. Clean the flat cooking area, the inside corners, the underside if greasy, and the rim where oil can collect. Re-wet the sponge as residue lifts so you are not redistributing grease.
At this stage, a good result is not “perfectly silver” or “like new.” It is a surface that feels clean and releases no softened food when you wipe it. If a section remains hard and crusted after a gentle pass, do not automatically scrub harder; switch to the material-specific escalation below.
After the first cleaning pass, check for grease, sticky patches, and trapped food. An even, residue-free surface is a better endpoint than chasing every cosmetic mark.
Step 5: Escalate only with a method compatible with the tray
Tray type
Safer next step for stubborn residue
What to avoid
Stainless steel
Soak in warm soapy water, then use a gentle nylon scouring pad if needed.
Harsh cleaners and highly abrasive scouring pads unless the maker specifically approves them.
Bare aluminum
Continue with warm soapy water and gentle hand washing.
Acidic cleaners such as vinegar as a default treatment; Nordic Ware notes that acids can darken, pit, or corrode aluminum. Avoid aggressive scouring if appearance matters.
Nonstick-coated steel
Warm soapy water and a soft, non-abrasive sponge; repeat rather than increasing abrasion.
Metal scrubbers, harsh pads, abrasive cleaners, and sharp tools.
Ceramic-coated bakeware
Follow the exact maker instructions. Great Jones, for example, recommends a baking-soda-and-water paste with a soft sponge for stuck food on its ceramic bakeware.
Assuming that a remedy approved for one ceramic coating is safe for every brand.
Seasoned cast iron
Wash with warm soapy water and a stiff-bristled brush or scrubbing pad; dry promptly and oil lightly.
Soaking or dishwashing.
Common household cleaners are not universally interchangeable. Check the tray material first: vinegar can attack bare aluminum, while some ceramic-bakeware makers permit a baking-soda paste.
Do not combine methods just because they are popular online. The tray's finish is the limiting factor. A cleaner that is acceptable for one product can discolor, scratch, strip seasoning from, or shorten the life of another.
Step 6: Give compatible trays time before adding abrasion
For stainless steel, a warm soapy soak can reduce how much force is needed. That is usually a better escalation than immediately moving to a harsh pad. If the residue softens enough to lift with a sponge or gentle nylon pad, stop there.
For coated trays, do not assume a long soak is safe simply because it works on stainless steel. Follow the specific care instructions. For cast iron, skip soaking entirely.
Soaking can help loosen stubborn residue on compatible metal bakeware, especially stainless steel. Do not use this step for seasoned cast iron, and check coated-tray instructions first.
Step 7: Know when to stop scrubbing
Stop escalating when the tray is free of removable food and grease, even if permanent staining remains. More force is not automatically a better clean. On bare aluminum, some darkening can be cosmetic. On coated bakeware, the finish itself matters more than removing every brown mark.
If the manufacturer allows a gentle nylon pad on uncoated stainless steel, use light pressure and check the surface every few passes. A rough green scouring pad is not a universal tool; on nonstick or ceramic coatings it may create damage that cleaning cannot reverse.
Aggressive scrubbing should be a material-specific exception, not the default. Coarse pads can damage coated trays; use them only where the manufacturer explicitly permits a comparable level of abrasion.
Step 8: Rinse, dry, and inspect the final result
Rinse away soap and loosened residue thoroughly. Dry the tray rather than stacking it wet. All-Clad recommends drying stainless bakeware immediately to reduce spotting, while Lodge tells cast-iron users to dry completely and apply a very thin layer of oil.
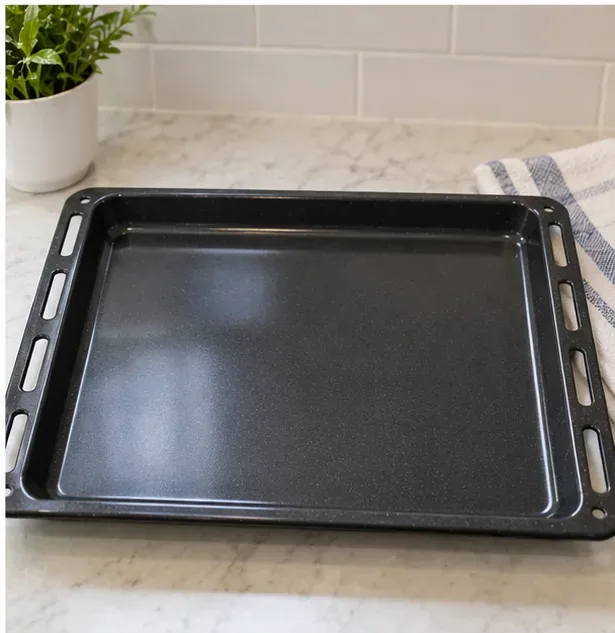
Make a final check in good light. The tray is ready to store when the surface is dry, not sticky, and free of transferable food residue. If a clean white cloth picks up grease or softened crumbs, repeat the mild cleaning step rather than jumping straight to a harsher chemical.
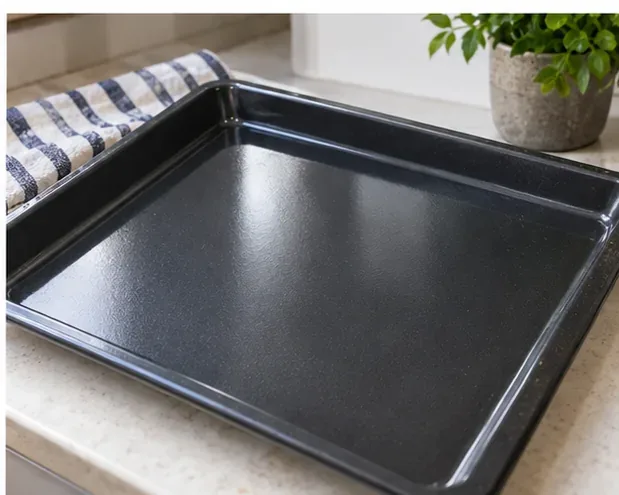
The finished tray should be dry and free of grease and removable residue. Permanent color change can remain without meaning the tray is still dirty.
When should you change methods?
Change approach when the current method is either ineffective or beginning to affect the tray itself. Useful warning signs include fresh scratches, a dull or rough patch on a coating, rust appearing on seasoned metal, or repeated scrubbing that removes no additional residue.
If residue is still softening: keep using the gentler method and give it more time.
If nothing changes after a full wash: check the manufacturer-approved next step for that material.
If the finish is changing before the residue is: stop. The cleaning method is too aggressive.
If a coating is visibly chipped, peeling, or flaking: cleaning will not restore the coating. Check the manufacturer for replacement or warranty guidance rather than trying to scrub it smooth.
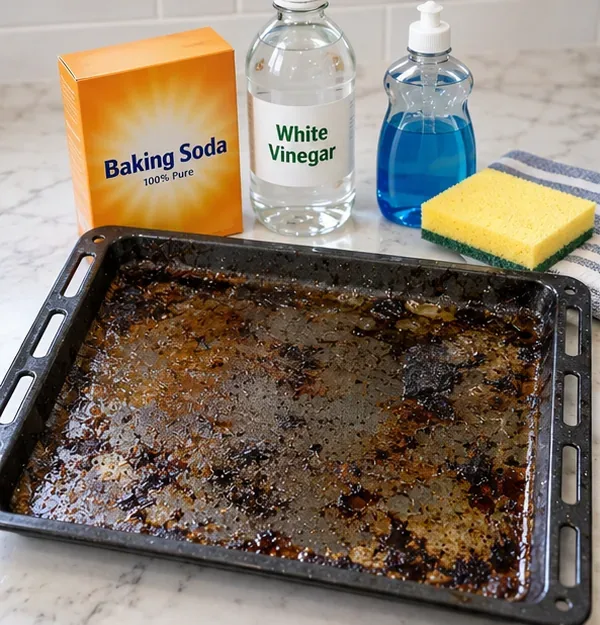
What about baking soda and vinegar?
They are often suggested for burnt oven trays, but neither should be treated as a universal answer. Great Jones specifically recommends a baking-soda-and-water paste for stuck food on its ceramic bakeware. Nordic Ware, by contrast, warns that acidic foods such as vinegar can darken, pit, or corrode aluminum. The practical conclusion is to match the cleaner to the tray rather than to the stain.
If you do not know the material, warm water, dish soap, and a soft sponge are the safer starting point while you identify the product.
Special case: seasoned cast-iron or carbon-steel trays
Seasoned bakeware is maintained differently from stainless or coated sheet pans. Lodge recommends hand washing cast iron with warm soapy water, drying it completely, and applying a thin layer of oil. It specifically advises against soaking and dishwashing. The finish is seasoning, so the quality target includes leaving the pan dry and protected from rust rather than making it bright metal.
Limits of cleaning
Cleaning can remove food, grease, and some baked-on residue. It cannot reverse every heat stain, restore a worn nonstick coating, flatten a warped tray, or rebuild damaged seasoning without a separate restoration process. If a tray is structurally warped, deeply pitted, rusted through, or has a failing applied coating, the correct next step may be repair, reseasoning, warranty support, or replacement rather than stronger cleaning.
Manufacturer instructions also take priority over general advice because coatings and constructions differ. The care guidance linked below was checked on September 13, 2026.