Home
» How To
»
How to Get Dry Erase Marker Off a Wall Without Ruining the Paint
How to Get Dry Erase Marker Off a Wall Without Ruining the Paint
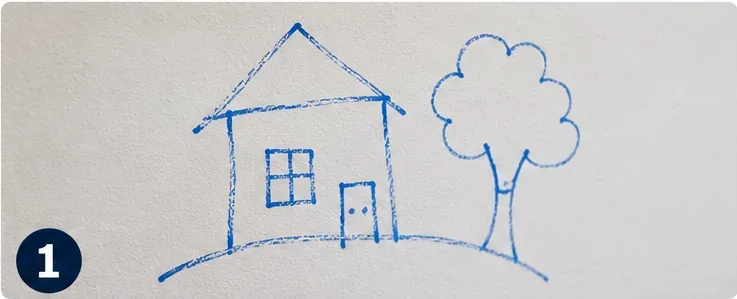
The best result is not simply “the marker is gone.” A good cleanup leaves the wall looking normal: no visible blue or black ink, no shiny burnished patch, no faded paint, no roughened texture, and no cleaner residue. Because painted walls vary widely, the safest way to remove dry erase marker is to start with the least aggressive method and stop as soon as the mark is acceptably reduced.
Dry erase ink is designed for slick, nonporous surfaces such as whiteboards, glass, and acrylic—not ordinary painted drywall. Newell Brands describes current EXPO dry erase markers as intended for whiteboards and other slick/nonporous surfaces. Once the ink reaches a wall, especially flat or matte paint, it may penetrate or bond differently than it does on a whiteboard. That is why the same cleaner can work well on one wall and leave a shiny or faded patch on another.
The goal of this guide is to help you remove as much marker as possible while preserving the paint finish. If the stain disappears but the wall becomes noticeably glossier, lighter, or rougher, the cleaning method has gone too far.
What a Successful Result Should Look Like
What you check
Good result
Stop or change method when...
Marker color
The ink fades or disappears with each gentle pass
The mark is not improving after a few passes
Paint color
The wall color stays even
Color transfers to the cloth or the area becomes lighter
Sheen
The cleaned spot matches the surrounding finish after drying
A matte area turns shiny or polished
Texture
The paint remains smooth and intact
The surface becomes fuzzy, soft, chalky, or rough
Moisture
The wall is only lightly damp during cleaning
Water is running down the wall or soaking the paint film
Step 1: Identify the Paint Finish and Test a Hidden Spot
Before cleaning the visible mark, look at the wall from an angle. Flat and matte paints have little sheen and are generally less resistant to repeated scrubbing than satin, semi-gloss, or high-gloss finishes. Sherwin-Williams notes that flat and matte walls require a gentler touch because harder scrubbing can damage the finish. Benjamin Moore similarly says higher-sheen paints are usually easier to clean than flat, matte, and eggshell finishes.
If you know the paint brand and product, check its care guidance. Fresh paint is especially vulnerable. Sherwin-Williams recommends waiting at least two weeks before washing freshly painted walls with soap and water, while Benjamin Moore says many of its wall paints may take about 30 days to fully cure. That difference is a reminder that cure time is product-specific.
Test your planned cleaning method in a hidden area first. Use the same cloth, cleaner, pressure, and contact time you intend to use on the marker. Let the test spot dry completely before judging it. Sherwin-Williams specifically recommends an inconspicuous test because damage may become more obvious after drying.
Quality check: if the hidden area dries with the same color and sheen as the surrounding wall, proceed. If it looks lighter, shinier, streaked, or softened, use a milder method or stop.
Begin by assessing the paint finish and the size of the dry erase mark before applying any cleaner.
Step 2: Start With a Soft Damp Cloth or Sponge
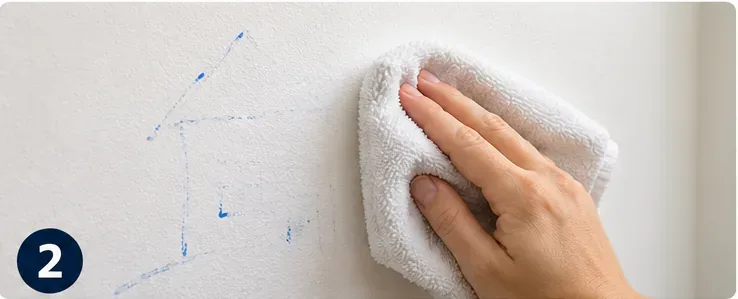
For a fresh mark, start with plain water. Dampen a soft microfiber cloth or nonabrasive sponge with warm water, then wring it out thoroughly. The cloth should be damp, not dripping. Gently blot or wipe the marker in small sections.
This mild first step follows the general wall-cleaning guidance from both Sherwin-Williams and Benjamin Moore. Crayola also starts its official painted-wall guidance for washable dry erase markers with a damp sponge.
Do not scrub rapidly back and forth. On flat or matte paint, repeated friction can create a polished-looking area known as burnishing. Even if the ink disappears, a shiny patch may remain visible when light hits the wall.
Quality check: stop after a few gentle passes and dry the area with a soft towel. If the marker is noticeably fading and the paint still looks normal, repeat gently. If there is no improvement, move to mild soap rather than increasing pressure.
Use light pressure with a damp, nonabrasive cloth; increasing friction can damage low-sheen paint before it removes the stain.
Step 3: Try Mild Dish Soap Before Stronger Solvents
If water alone leaves a visible mark, mix a small amount of mild dishwashing soap into warm water. Dampen a clean microfiber cloth or soft sponge with the solution and wring it out well. Work on the stain with a gentle dabbing or small circular motion, then rinse the area with a separate clean, damp cloth.
Sherwin-Williams calls mild soap and warm water its general choice for washing painted walls. Benjamin Moore also recommends mild dish soap and a nonabrasive sponge, while warning against harsh cleaners and abrasive sponges.
Do not spray large amounts of cleaner directly onto the wall. Applying the solution to the cloth gives you better control over moisture and prevents cleaner from running into seams, baseboards, or porous areas.
Quality check: after rinsing, blot the wall dry and wait until the surface returns to its normal appearance. If the stain is nearly gone and the paint still matches, another mild pass may be worthwhile. If the ink is unchanged, aggressive scrubbing is unlikely to improve the result safely.
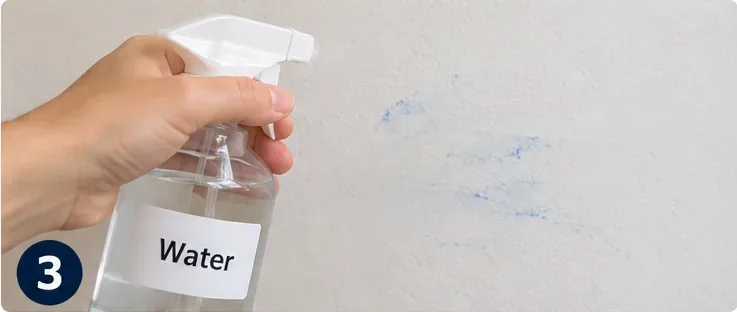
Apply water or a mild cleaning solution to the cloth rather than soaking the wall, then work on a small area at a time.
When Should You Consider a Stronger Spot Treatment?
This is the point where advice becomes more conditional. Crayola's official instructions for its washable dry erase markers on painted walls escalate from a damp sponge to Soft Scrub and, if needed, rubbing alcohol on a cotton ball. However, major paint manufacturers are more cautious. Benjamin Moore advises avoiding harsh cleaners such as alcohol on painted walls, and Sherwin-Williams recommends nonabrasive cleaners and a hidden-area test.
Those recommendations are not necessarily contradictory: Crayola is addressing a particular marker stain, while paint manufacturers are protecting a broad range of paint films. The wall finish determines whether the stronger cleaner is acceptable.
If you know the marker is a washable Crayola dry erase product and the paint is a durable, fully cured finish, you may choose to follow Crayola's brand-specific stain instructions. Test first, use the smallest amount needed, and stop if the paint color or sheen changes.
If you do not know the marker brand, the wall has flat or matte paint, the paint is relatively new, or the test spot reacts badly, do not assume rubbing alcohol or an abrasive cleaner is safe. In those cases, touch-up paint can produce a better visual result than increasingly aggressive stain removal.
What About a Magic Eraser?
Melamine foam products such as Magic Eraser can remove difficult marks because they act as a very fine abrasive. That abrasive action is also why they can alter the sheen of painted walls. Benjamin Moore explicitly advises avoiding abrasive sponges, including Magic Erasers, in its guidance for freshly painted walls and cabinets.
Some marker manufacturers list melamine foam for particular washable products, but that does not make it universally safe for every painted wall. If preserving the finish is the priority, treat it as an optional last-resort method only after a hidden-area test—not as the default first step.
Switch methods when: the stain is not changing but the wall surface is. At that point, more rubbing is likely to create a larger cosmetic defect than the original marker.
Step 4: Rinse, Dry, and Judge the Wall Only After It Dries
After any soap or approved spot treatment, wipe the area with a clean cloth dampened with plain water to remove cleaner residue. Blot gently with a dry towel, then allow the wall to air-dry completely.
Do not decide whether the job is finished while the wall is still damp. Wet paint can look temporarily darker or glossier. Once dry, compare the treated area with the surrounding wall from straight on and from an angle under normal room lighting.
A good final result has: little or no visible marker, no cleaner film, no obvious halo, and no change in sheen. A faint stain that is visible only from very close range may be a better outcome than a perfectly white patch surrounded by damaged paint.
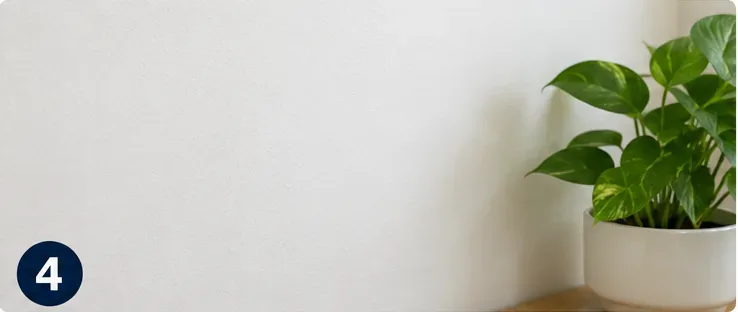
Judge the result after the wall is fully dry; the cleaned area should blend with the surrounding paint without a shiny or faded patch.
When Touch-Up Paint Is the Better Result
Cleaning has a limit. On porous flat paint, old low-quality coatings, or walls where ink has penetrated deeply, the marker may not come out completely without changing the paint film. Crayola itself notes that stain-removal results vary, and its guidance for some marker types acknowledges that flat paint may ultimately require repainting.
Touch-up becomes the better option when:
the mark stops fading after mild cleaning;
paint color begins transferring to the cloth;
the surface becomes shiny from rubbing;
the wall develops a pale halo around the stain;
the paint softens, pills, or becomes rough;
the wall is newly painted and not fully cured; or
the remaining stain is small enough that matching paint can cover it more cleanly.
For touch-up, use the same paint color, product, and sheen if possible. Even an exact color can look different if the sheen or application method differs, so feather the repair carefully and follow the paint manufacturer's touch-up guidance.
Why Dry Erase Marker Behaves Differently on a Wall
Dry erase markers are engineered for smooth, erasable surfaces. Newell Brands' current EXPO product information describes use on slick surfaces such as whiteboards, glass, and acrylic. Painted drywall can be textured and more absorbent, especially with low-sheen paint. That allows the ink vehicle and pigment to settle into microscopic texture instead of remaining entirely on the surface.
This is why drawing over a wall stain with another dry erase marker—the familiar whiteboard trick—is not a reliable wall-cleaning method. It may simply add more ink to a surface that was never designed to erase cleanly.
Common Mistakes That Lower the Quality of the Result
Scrubbing Harder When the Stain Stops Improving
If the ink is not fading but the paint is becoming shinier, stop. Friction is now affecting the finish more than the stain.
Using Alcohol Without Testing the Paint
Rubbing alcohol may be part of a marker manufacturer's stain-removal sequence, but some paint makers advise against alcohol on painted walls. A spot test is essential.
Over-Wetting the Wall
Sherwin-Williams warns that too much water can damage a paint finish. Keep cloths well wrung out and work in controlled sections.
Cleaning Paint Before It Has Cured
Freshly painted walls are more vulnerable. Check the paint manufacturer's cure guidance before using water, soap, or stronger products.
Assuming Flat Paint Will Clean Like Semi-Gloss
Low-sheen paint generally tolerates less scrubbing. If the wall is flat or matte, be willing to stop earlier and touch up rather than chase a perfect stain-free result.
Final Result Checklist
The marker is gone or reduced to an acceptable faint trace.
The cleaned area has the same color as the surrounding wall.
The sheen looks consistent from an angle.
No paint transferred to the cleaning cloth during the final pass.
The surface is not fuzzy, polished, or rough.
No soap or cleaner residue remains.
The wall is fully dry before you decide whether another treatment is needed.
For most painted walls, the best sequence is simple: test first, use water, move to mild soap, rinse, dry, and judge the finish. Stronger spot treatments can help in some cases, but the right stopping point is when additional cleaning threatens the paint. A wall that still has a faint trace of marker but retains an even finish can be a better result than a stain-free wall with a permanent shiny or faded patch.