Home
» How To
»
How to Season Cast Iron Grill Grates: Pick the Right Method for Your Grate
How to Season Cast Iron Grill Grates: Pick the Right Method for Your Grate
Seasoning cast iron grill grates is not a one-size-fits-all maintenance job. The first decision is whether your grate is bare cast iron that benefits from an oil-baked protective layer or porcelain-enameled cast iron that the manufacturer says should not be seasoned. That distinction matters more than the brand of oil you choose.
For bare cast iron, the goal is a very thin, bonded oil film that helps limit rust and improves food release over time. For coated grates, unnecessary abrasive cleaning or repeated seasoning can add residue without improving the factory surface. The best method is therefore the one that matches the grate construction and the grill maker's care instructions.
Start by identifying what kind of cast iron grate you have
Look in the owner's manual or replacement-part description before doing anything aggressive. Weber states that its porcelain-enameled cast iron cooking grates do not need seasoning because the enamel is already baked onto the iron. Char-Broil likewise says porcelain grates do not require seasoning. By contrast, Napoleon publishes a seasoning procedure for cast iron cooking grids using a thin coat of high-temperature oil and a heating cycle.
Grate type
Season it?
Main tradeoff
Bare or uncoated cast iron
Usually yes, especially after rust removal or a deep wash
More rust protection and easier release, but it needs periodic maintenance
Porcelain-enameled cast iron
Usually no when the manufacturer says the enamel is the cooking surface
Lower maintenance, but chipped enamel should be handled according to the maker's instructions rather than treated automatically like bare iron
Unknown construction
Pause and verify
A few minutes checking the manual can prevent unnecessary abrasion or oil buildup
The sequence below is designed for bare or manufacturer-approved-to-season cast iron. If your manual gives different temperatures, cycle times, or cleaning tools, follow the manual. Grill designs and grate finishes vary.
1. Remove the cool grates and inspect them
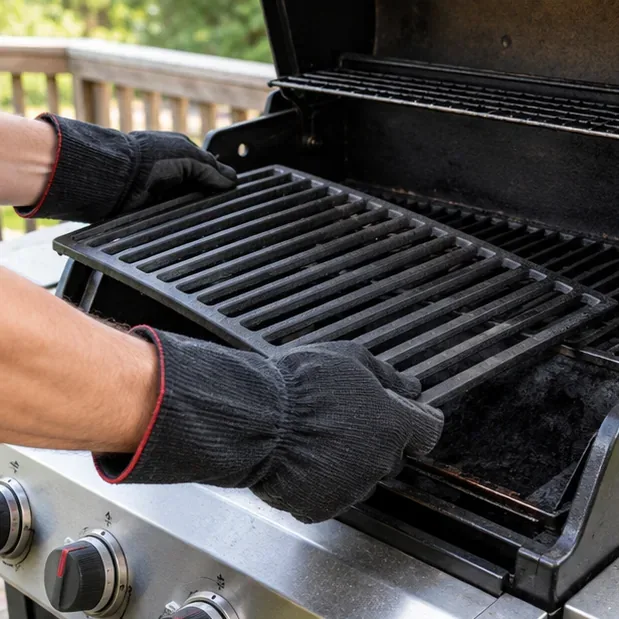
Work only when the grill is cool enough to handle safely. Lift out the grates and look for loose food debris, orange surface rust, glossy or sticky old oil, and any sign that the grate is actually enamel-coated. If the surface is porcelain enamel, stop here and use the manufacturer's cleaning procedure instead of this bare-cast-iron seasoning routine.
Remove the grates only when the grill is cool enough to handle safely, then inspect the surface before deciding how much cleaning it needs.
2. Wash off grease and loose residue
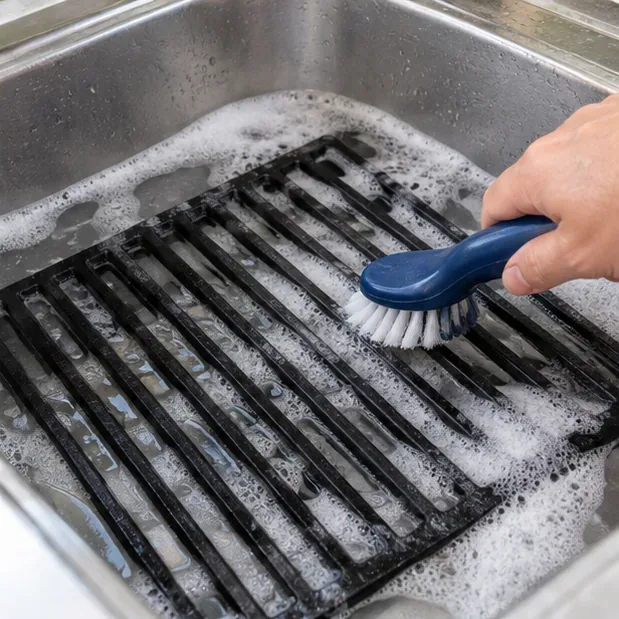
Use warm, soapy water and a soft brush or cloth for a reset clean. Napoleon specifically recommends warm soapy water and a soft cloth before seasoning its cast iron grids. A deep wash can strip weak surface oil, which is acceptable when you are about to rebuild the protective layer.
A warm, soapy wash removes grease and loose residue before a fresh seasoning layer is applied.
3. Rinse away the soap
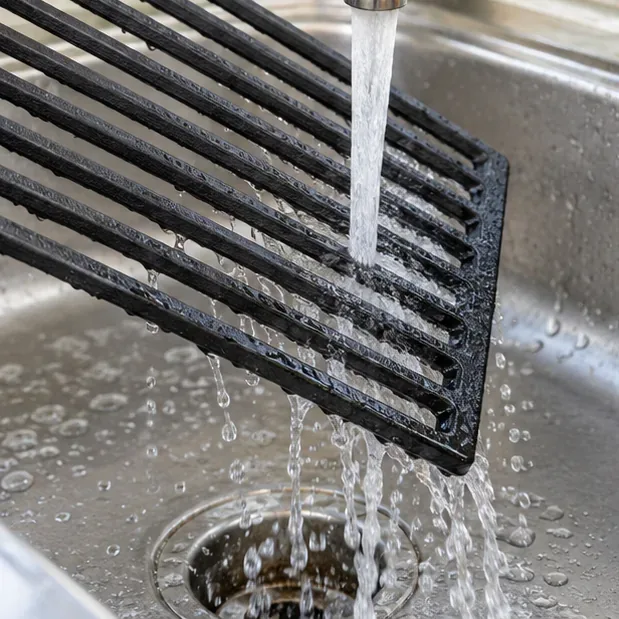
Rinse until no suds or cleaner remain. This step is simple but important: seasoning works best when the oil is bonding to clean iron rather than trapped cleaner, food residue, or damp debris.
Rinse the cleaned grate thoroughly so no soap or loosened debris remains on the iron.
4. Dry completely
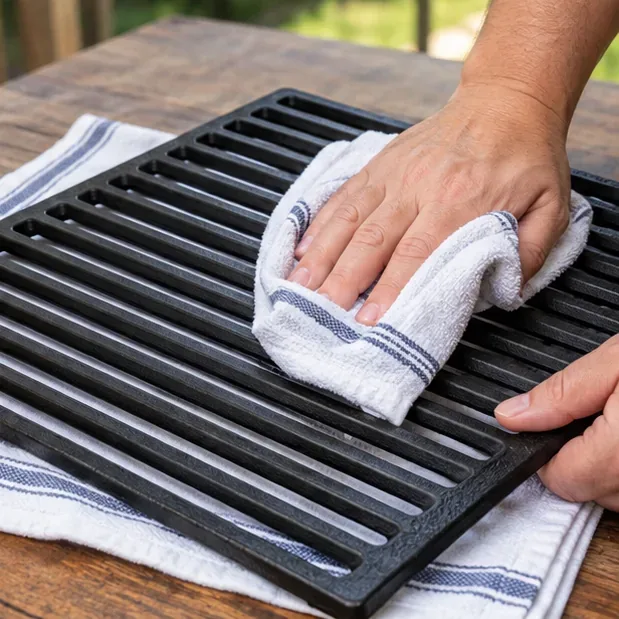
Dry with a clean towel, then let the grate air-dry fully or use gentle grill heat if your manual permits it. Water left in the pores and crevices encourages flash rust, so do not rush from rinsing to oiling while the grate is still wet.
Dry every bar and corner thoroughly before oiling; trapped moisture works against rust protection.
5. Remove surface rust only where needed
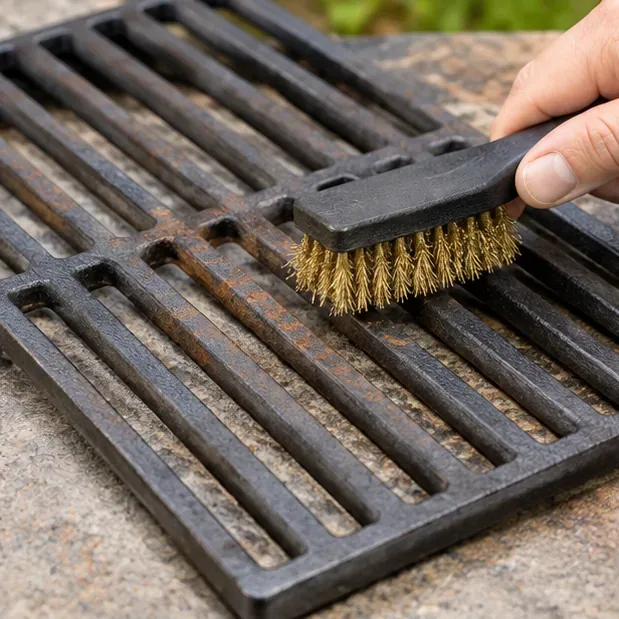
If you see orange surface rust, scrub the affected area with a scouring pad or a manufacturer-approved brass brush until the loose rust is gone, then wipe the debris away. Napoleon specifically advises removing surface corrosion before re-seasoning. The tradeoff here is abrasion: enough to remove rust is useful, but aggressive grinding on an intact coated grate can damage the finish.
Remove loose surface rust from bare cast iron before seasoning, using an appropriate brush or scouring pad.
6. Apply the thinnest practical coat of oil
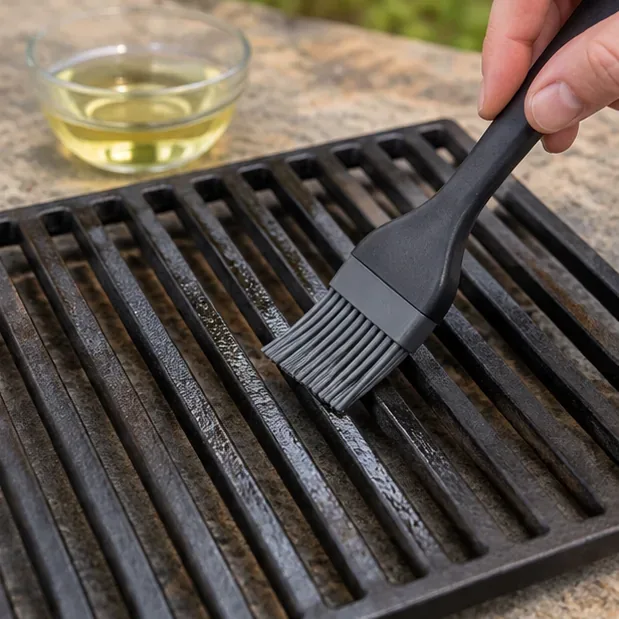
Brush a high-temperature cooking oil over all exposed surfaces, including the sides and underside. Napoleon lists options such as shortening, canola oil, and flaxseed oil in its seasoning guidance. The key is not making the grate look wet; Lodge's cast iron guidance emphasizes a very thin coat and notes that the surface should look more matte than greasy. A silicone basting brush is a practical choice because it reaches between bars without leaving paper fibers.
Use a silicone brush to spread a thin, even film of high-temperature cooking oil over the grate rather than leaving drips or glossy pools.
7. Reinstall the grate and heat it according to the maker's range
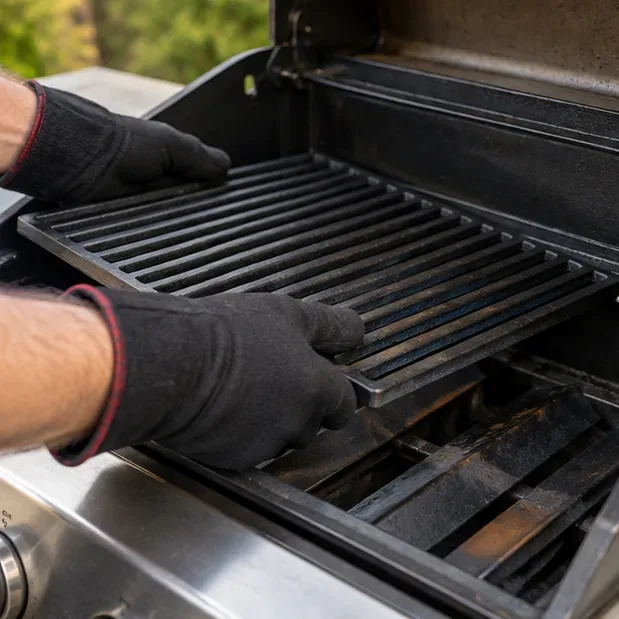
Set the grate back in the grill before lighting it. Napoleon instructs users to heat cast iron grids around 350–400°F for roughly 30–60 minutes, while Char-Broil gives a shorter 16-minute heat cycle for its grill-seasoning procedure. That difference is a good reason not to treat one timing rule as universal. Close the lid if your grill's instructions call for it, monitor the grill, and never leave it unattended.
Reinstall the oiled grate, then use the temperature and timing specified for your grill rather than assuming every model needs the same cycle.
8. Cool, inspect, and repeat only if the result calls for it
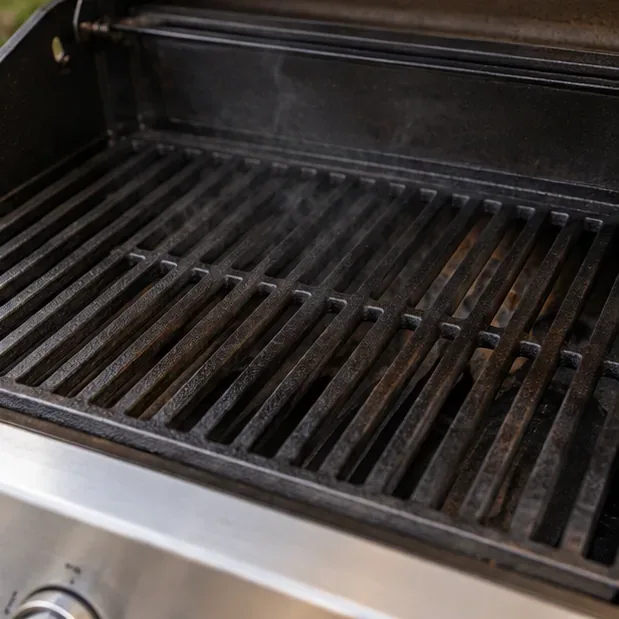
After the heating cycle, turn the grill off and let the grate cool safely. A good result is an even, dark, dry-looking surface rather than a thick glossy or tacky coating. If the grate is sticky after cooling, excess oil is the likely problem; clean off the residue and repeat with a thinner film. If bare gray patches remain after rust removal, a second thin coat can be more effective than one heavy coat.
After heating, the grate should cool to a dark, dry-looking finish rather than a wet or sticky coating.
Which oil should you choose?
There is no single oil that wins every practical category. What matters most is using an oil the manufacturer accepts and applying it sparingly. Napoleon names high-temperature options including shortening, canola oil, and flaxseed oil. Lodge explains the underlying idea as polymerization: when a thin oil layer is heated sufficiently, it changes into a hardened film bonded to cast iron.
Option
Why you might choose it
Tradeoff
Canola or generic vegetable oil
Easy to find, neutral, and specifically accepted by major cast-iron/grill makers
Still becomes gummy if applied too heavily
Vegetable shortening
Easy to control in a thin film and specifically listed by Napoleon
Needs to be spread carefully into corners and between bars
Flaxseed oil
Listed by Napoleon and often chosen when building a hard seasoning film
More expensive and not necessary for a functional grate
For most people, canola oil or vegetable shortening is the practical choice because both are easy to source and appear in manufacturer guidance. If you already own another high-temperature oil approved by your grill maker, there is usually no need to buy a specialty bottle solely for the grate.
How do you know the seasoning worked?
Judge the result by the surface, not by how much smoke you produced. The grate should look evenly dark and feel dry rather than oily. Light patchiness is not automatically a failure; cast iron seasoning builds over repeated cooking and maintenance. More oil is not necessarily better.
Good result: dark, dry-looking surface; no oily beads; no loose rust; food release improves as the grate is used and maintained.
Too much oil: glossy, sticky, or gummy patches after cooling. Strip the excess and repeat with a much thinner coat.
Rust returns quickly: the grate may have been stored damp, left unoiled after cleaning, or exposed to a damaged protective finish. Address the moisture source before adding more seasoning.
Chipped porcelain enamel: do not assume repeated oil seasoning repairs the coating. Check the grill maker's replacement or service advice.
When should you season again?
Maintenance frequency varies by manufacturer and by how the grill is used. Napoleon's consumer guidance discusses periodic re-seasoning and also recommends applying a light film of high-temperature oil as part of routine care; some Napoleon manuals call for more frequent cycles. Char-Broil recommends oiling cast-iron grates around use, while Weber says its porcelain-enameled cast iron grates do not need seasoning at all. The practical rule is to follow your exact manual and use the grate's condition as a secondary signal.
Re-season bare cast iron when you have removed rust, performed a deep detergent wash that leaves the metal looking dry, or see obvious loss of the protective finish. If the grate is already dark, dry, and performing well, adding repeated heavy coats can create more cleanup rather than more protection.
Common mistakes and the better alternative
Seasoning porcelain-coated cast iron automatically: verify the grate material first. Weber and Char-Broil explicitly say porcelain grates do not require seasoning.
Using a thick coat of oil: use the thinnest even film you can spread. Thick oil is more likely to stay sticky.
Oiling a wet grate: dry completely first so moisture is not trapped against bare iron.
Assuming one temperature and time fits every grill: manufacturer procedures differ. Use the manual's cycle when available.
Using paper products around hot grates: Napoleon cautions that paper towel fibers can stick to cast iron and that paper is flammable; a silicone brush is a safer, cleaner applicator for oil.
Bottom line
If your grate is bare cast iron and the manufacturer recommends seasoning, clean it, remove any rust, dry it completely, apply an extremely thin high-temperature oil film, and heat it according to that grill's instructions. If it is porcelain-enameled cast iron, seasoning may be unnecessary and potentially counterproductive. The most reliable decision is based on the grate material first, then on the maker's maintenance guidance, not on a universal internet recipe.