How to Create a Poll in Microsoft Teams
Learn how to create a poll in Microsoft Teams chats, channels, and meetings, choose response settings, review results, and close voting.
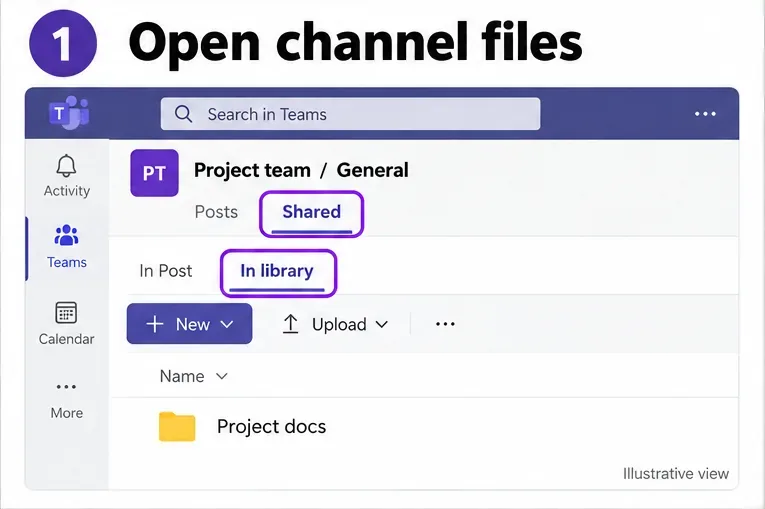
To share and manage Microsoft Teams files in a channel, open the channel, select Shared, and choose In library when available. From there, upload documents, organize folders, and share links with the right permissions. Some clients still label this tab Files.
These instructions cover Teams for work or school on desktop and the web. Menus vary by rollout and permissions. The illustrations show simplified views; use the matching controls in your app.
Channel files live in SharePoint. Standard channels use folders in the team's site; private and shared channels have separate sites. Files uploaded to individual or group chats live in the sender's OneDrive for Business instead. Microsoft explains this Teams and SharePoint connection.
The In Post view finds items shared in conversations. Switch to the library when you need folder management, as described in Microsoft's file-sharing guide.
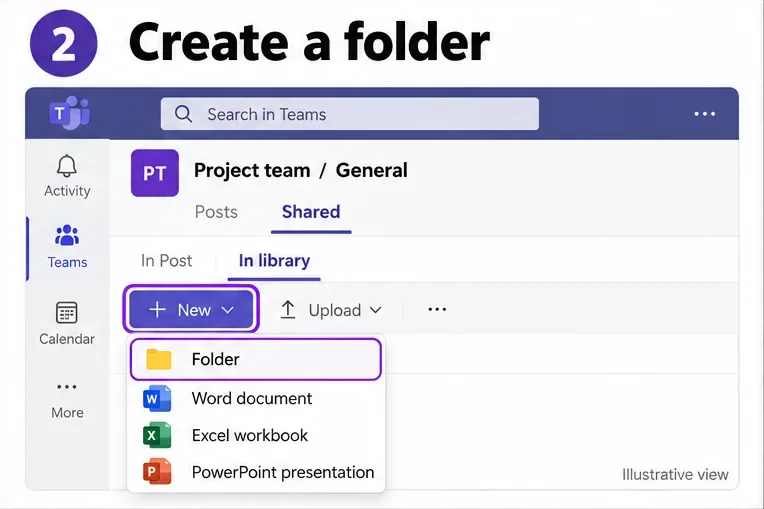
Use the same New menu to create an available Word document, Excel workbook, or PowerPoint presentation. Keep related files together, and avoid deep folder nesting. Microsoft's channel-content instructions cover these options.
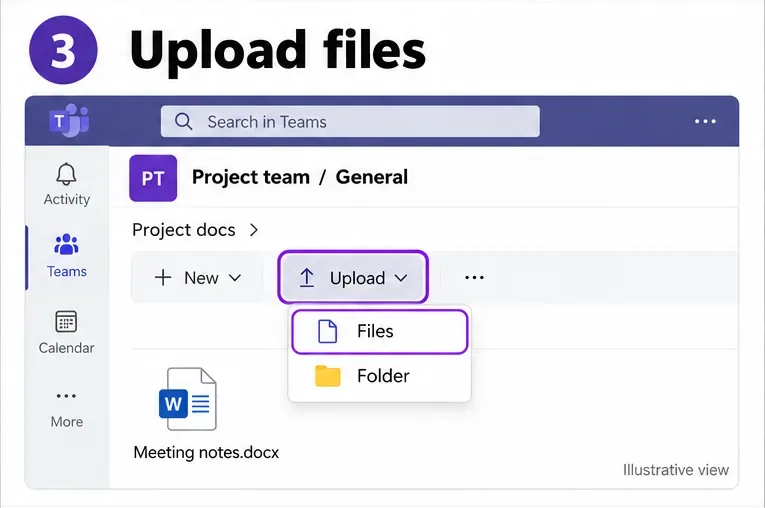
You can also drag files into the library. Uploading to a channel makes them accessible to channel members. For a conversation, attach the file to a channel post or paste its existing link.
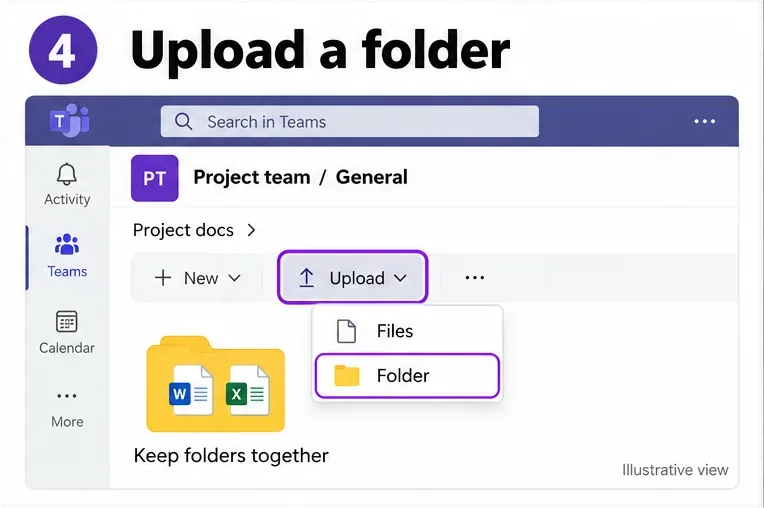
If Folder is unavailable, select Open in SharePoint from the library toolbar or its overflow menu and try there. Folder uploads preserve the hierarchy; transfer time depends on file sizes and your connection.
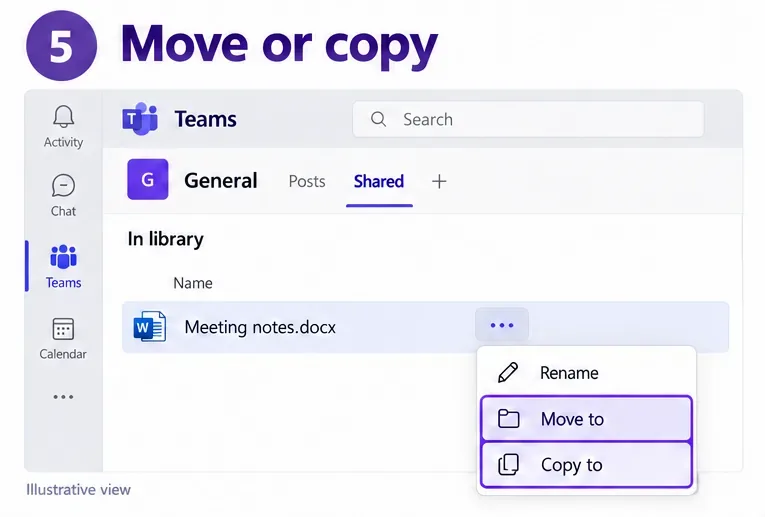
Use Rename when you only need a clearer filename. Move relocates the item; Copy creates another copy. To reference one document in several channels, share its link instead of making duplicates. See Microsoft's move and copy instructions.
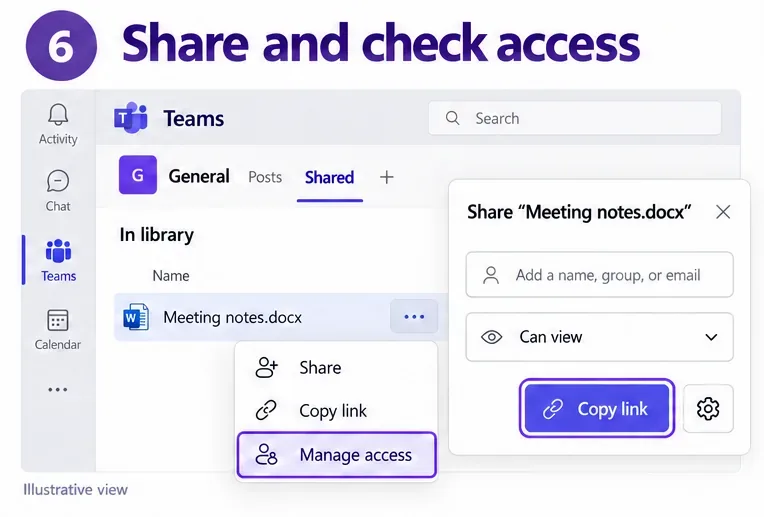
People with existing access does not grant new permissions. Use Manage access to review recipients and links. A view-only link does not remove existing editing rights. Copying a link does not guarantee everyone can open it.
Sharing beyond channel membership can be allowed, depending on channel type and organizational policy. Shared-channel files cannot be shared with outside organizations' users who are not channel members. Microsoft's sharing and permission settings explain link choices.
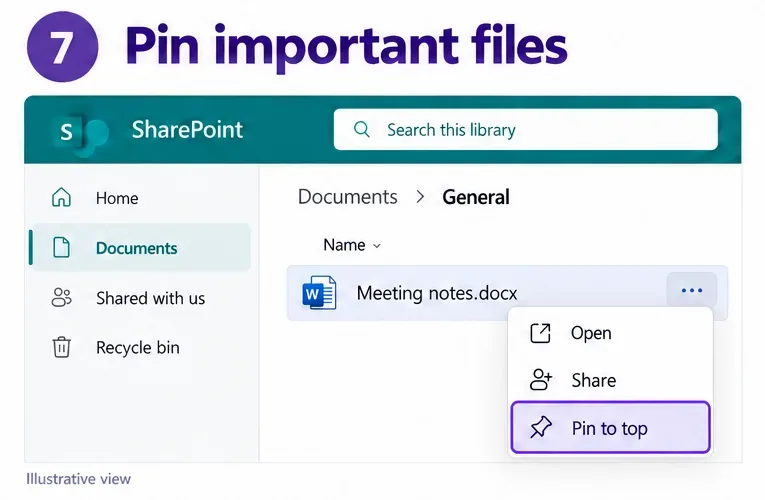
SharePoint displays a highlighted shortcut above the list. Pinning is specific to that folder or library view, supports up to three items, and does not change access permissions. Use Unpin to remove the highlight. See Microsoft's pinning instructions.
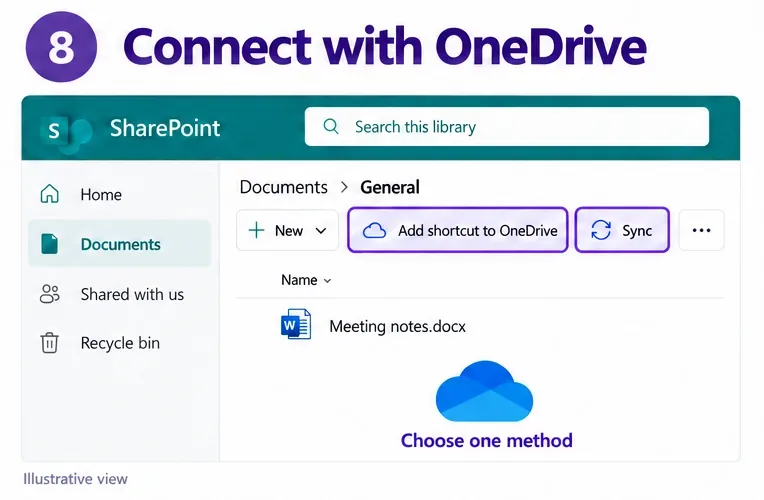
Microsoft recommends OneDrive shortcuts when available because they work across devices. Sync connects a library to a particular computer. Neither command is simply a refresh button for Teams.
Check the channel, folder, and signed-in account, then reopen the library in SharePoint. Confirm the upload finished. For access errors, ask the owner to check membership and file permissions. For local sync problems, check OneDrive's status. Avoid deleting and re-uploading shared documents as a first fix: you could disrupt collaborators and existing links.
Learn how to create a poll in Microsoft Teams chats, channels, and meetings, choose response settings, review results, and close voting.
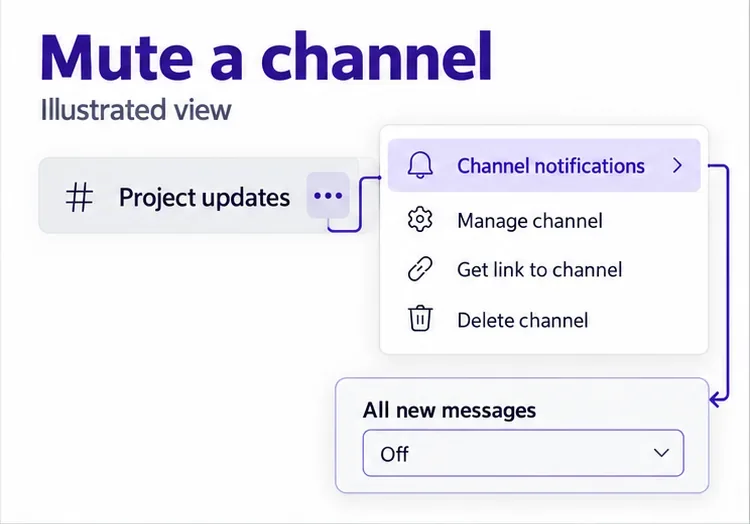
Learn how to mute channel and message notifications in Microsoft Teams, unfollow noisy threads, and control banners while understanding mention alerts.
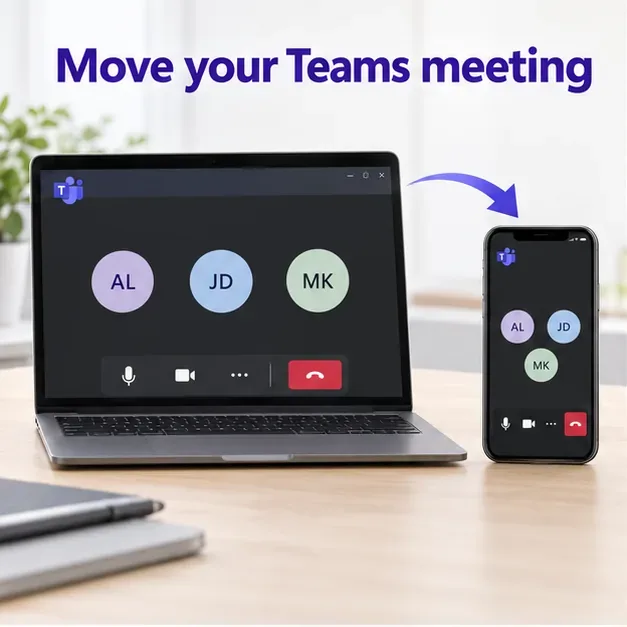
Learn how to transfer a Microsoft Teams meeting between your computer and phone, use both devices together, and fix missing transfer options or audio issues.
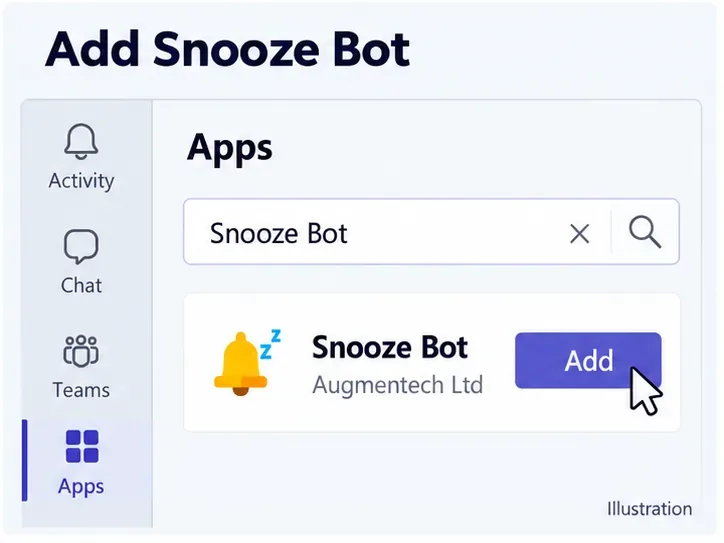
Learn how to snooze a message in Microsoft Teams with Snooze Bot, return to it later, and use saved messages or mute controls when you need another option.
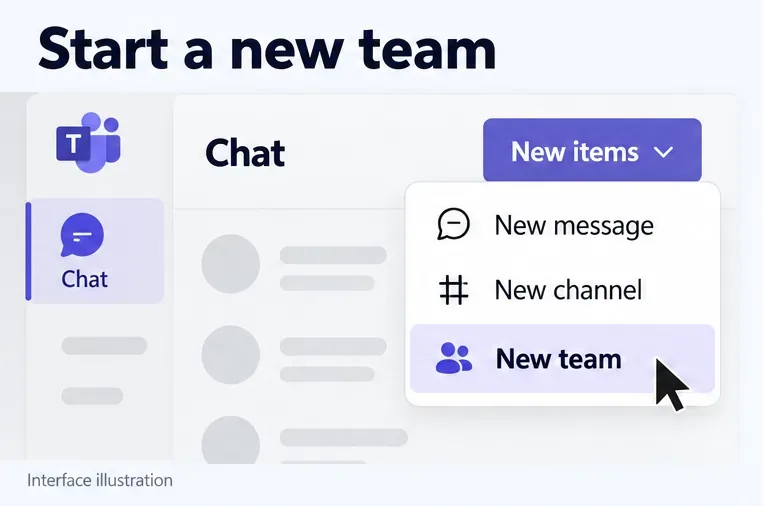
Learn how to create a team in Microsoft Teams, add members, choose channel types, manage permissions, and use the Teams admin center.
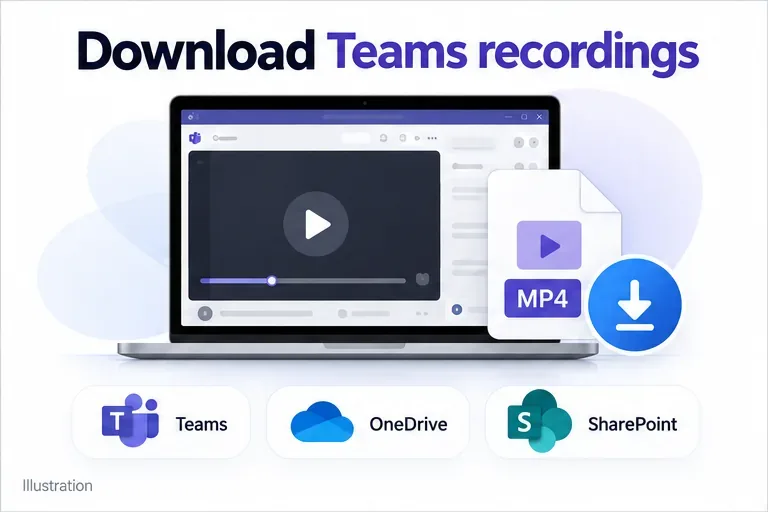
Learn how to download a Microsoft Teams recording from Teams, OneDrive, or SharePoint, and fix missing download options, access issues, and expired recordings.
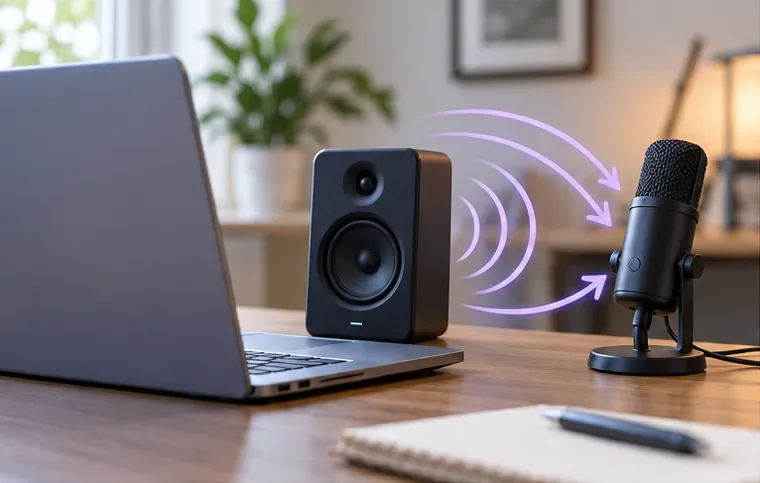
Fix echo during Microsoft Teams meetings by removing duplicate audio connections, selecting the right headset and microphone, and checking audio settings.
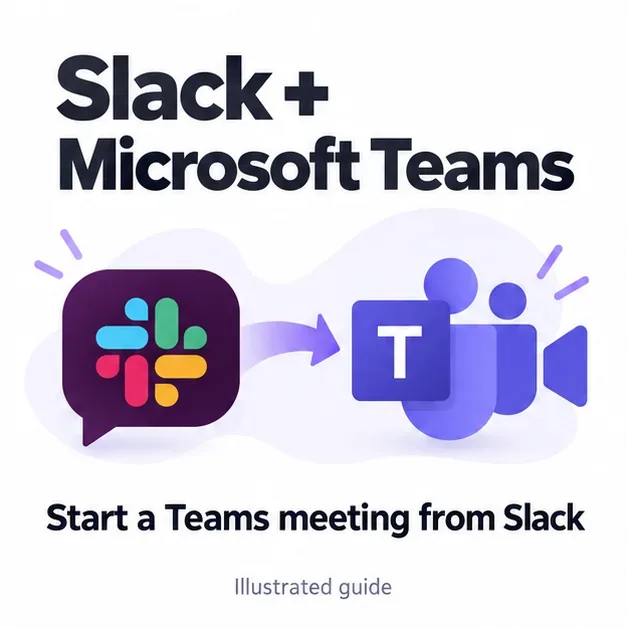
Set up Microsoft Teams–Slack integration to launch Teams meetings from Slack. Learn account requirements, app permissions, setup steps, and quick fixes.
Unable to connect to Microsoft Teams meetings? Check the meeting link, account, network, and app, then learn when to contact the organizer or IT.
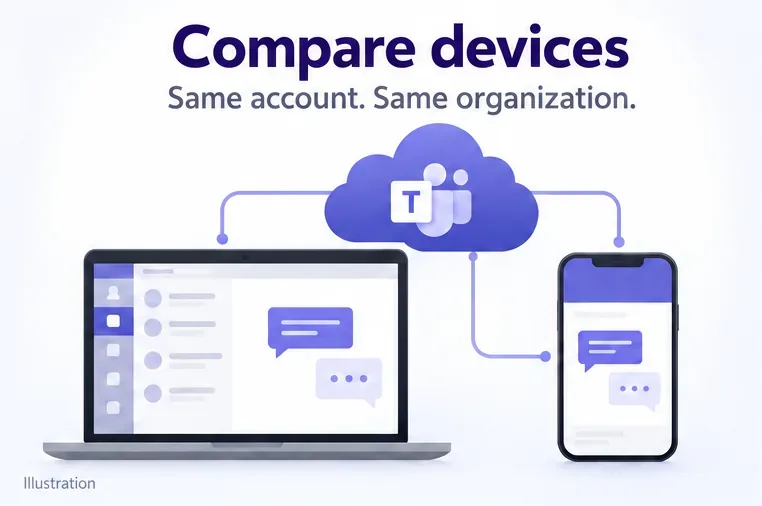
Microsoft Teams not syncing? Refresh messages across desktop, web, iPhone, and Android, identify account or file issues, and avoid unnecessary cache resets.